


Hi y'all, Amy at Naptime Crafters was so sweet to invite me to guest post, but in case you missed it...I shared a craft using old paper, which is my daughter Amelia's favorite...paper jewelry. First of all let me just say that I just love pretty paper. I'm a paperaholic at heart, but my budget just doesn't have an open spot for a paper category right now....a girl can dream, right? So, imagine how delighted I was when I discovered that you can make beautiful things from old paper and magazines...really? I was a little skeptical at first, but "what to my wondering eyes should appear?"...Pinterest love like these..
Aren't these adorable? I was sure I could do paper beads, so I grabbed my supplies.
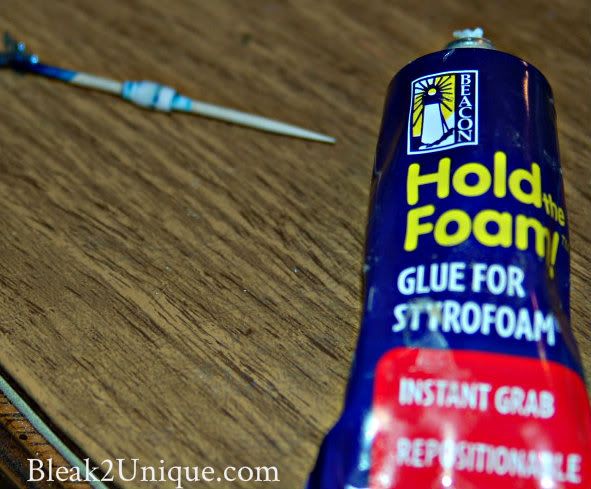
Supply list: old magazines or colorful paper, glue, toothpicks, exacto knife or scissors, jewelry cord, styrofoam or cardboard lid to stick toothpicks in, extra beads if you like, and patience. First I needed colorful paper from magazines like these...
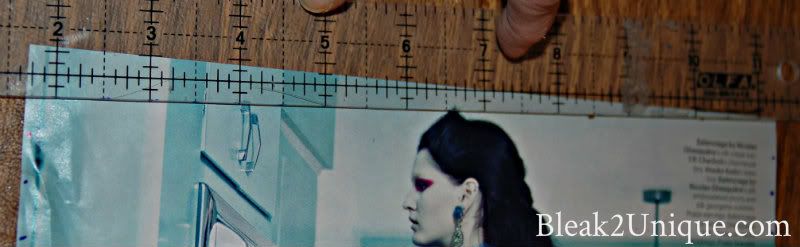
Try to pick pages that have solid pics and not many words...and lots of color! I like blue, so I tore out a blue page. Next, with the page turned lengthwise, mark the page in 1/2 inch increments...like so....
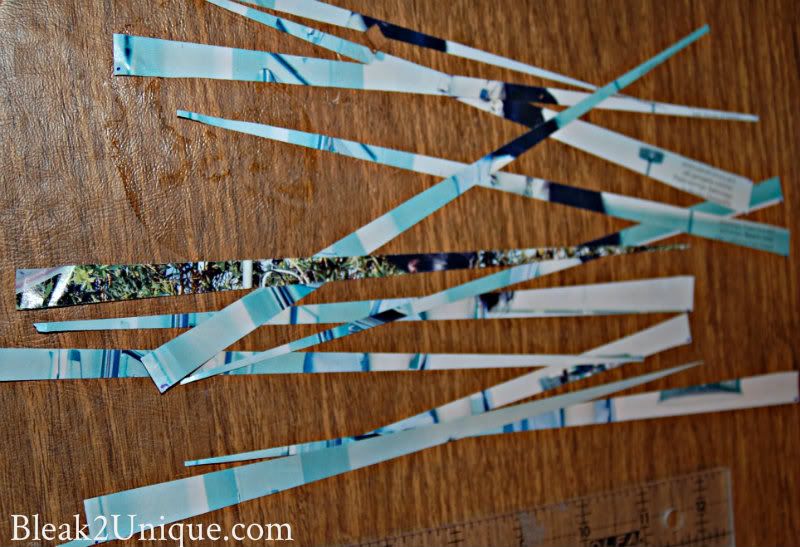
Once both sides are marked then use a ruler and a exacto knife..or scissors, to cut 1/2 inch triangular strips. Line the ruler so that the wide side of the triangle starts at the first dot on one side of page, and extends to the edge of the other side of the paper. The next triangle will be cut from narrow side to wide side (similar to a zig zag)...like so...
Once all strips are cut it is time to make a bead by wrapping the paper around a toothpick, starting with the wide end. Wrap strips tight, but not too tight or the paper will rip. This takes practice, or at least it did for me. I tore the paper the first 6 tries, but no way was I giving up...not after investing time cutting all those triangular strips! Wrap each strip like this...
Once the strip is wrapped, glue the end...now it's a bead! I stuck the toothpick in a box lid to dry, but you can use a piece of styrofoam or whatever you have handy. Now, keep on rollin' until each strip has been transformed into a bead....
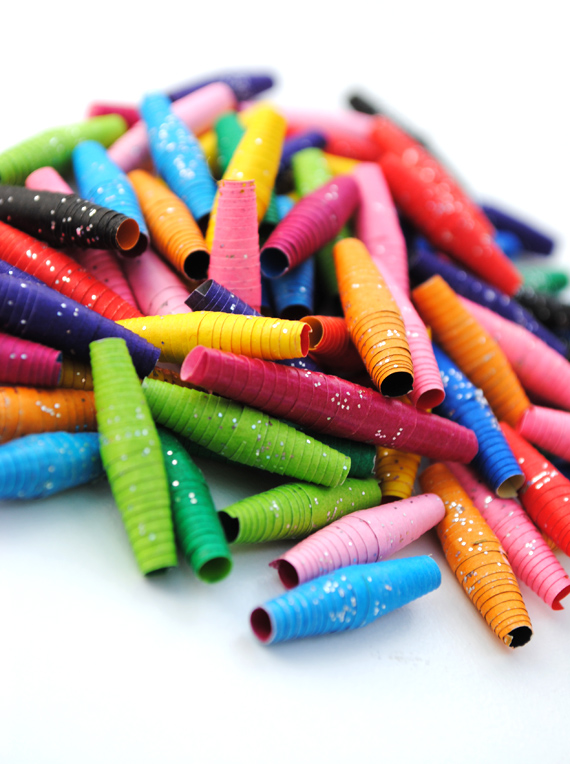
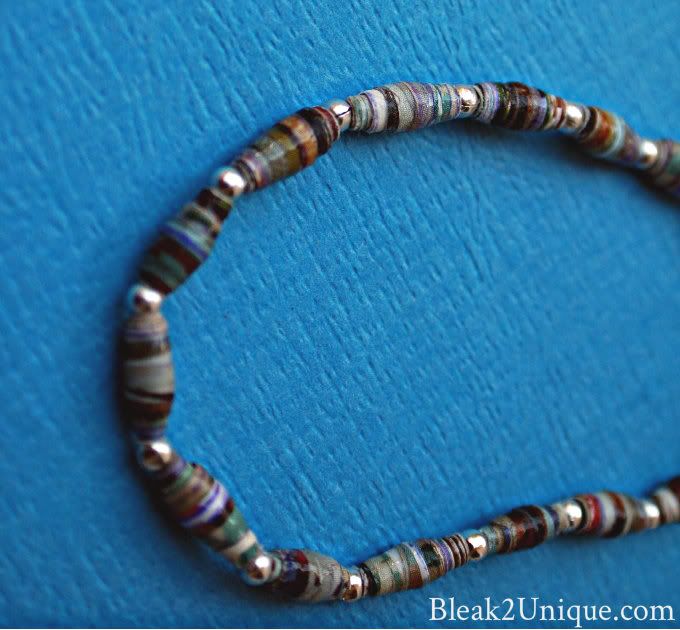
After the glue dries, you can add a coat of clear coat nail polish, urethane, or whatever clear sealer you may have...I like nail polish. I made 16 beads which is enough for an average size bracelet if you are adding spacer beads. Once the beads are dry it was time to assemble my bracelet...Like this...
Linking up here...


 |
| via minieco.co.uk |
 |
| via astorybooklife.com |
 |
| via Apartmenttherapy.com |
Supply list: old magazines or colorful paper, glue, toothpicks, exacto knife or scissors, jewelry cord, styrofoam or cardboard lid to stick toothpicks in, extra beads if you like, and patience. First I needed colorful paper from magazines like these...
 |
| Colorful Magazines |
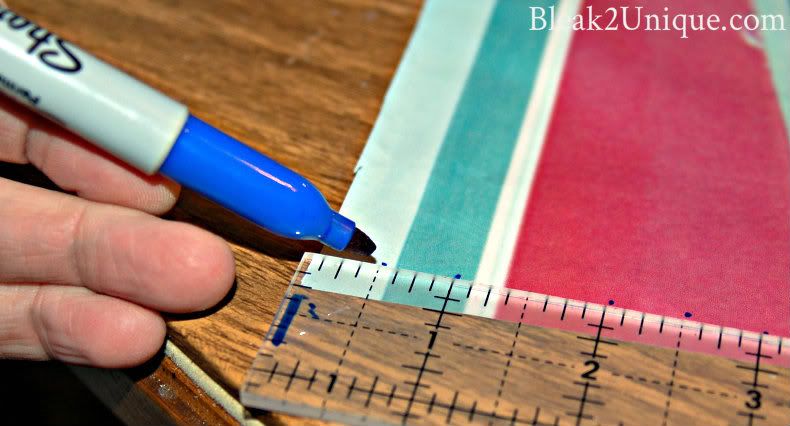 |
| Mark off every 1/2 inch |
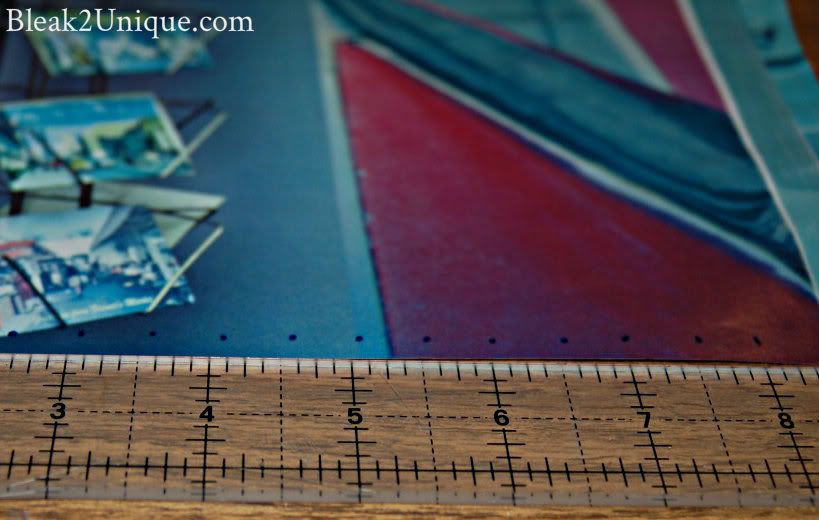 |
| Mark off both sides of page |
 |
| Cut across entire page |
 |
| Narrow to wide...then wide to narrow across page |
 |
| Bead Seeds |
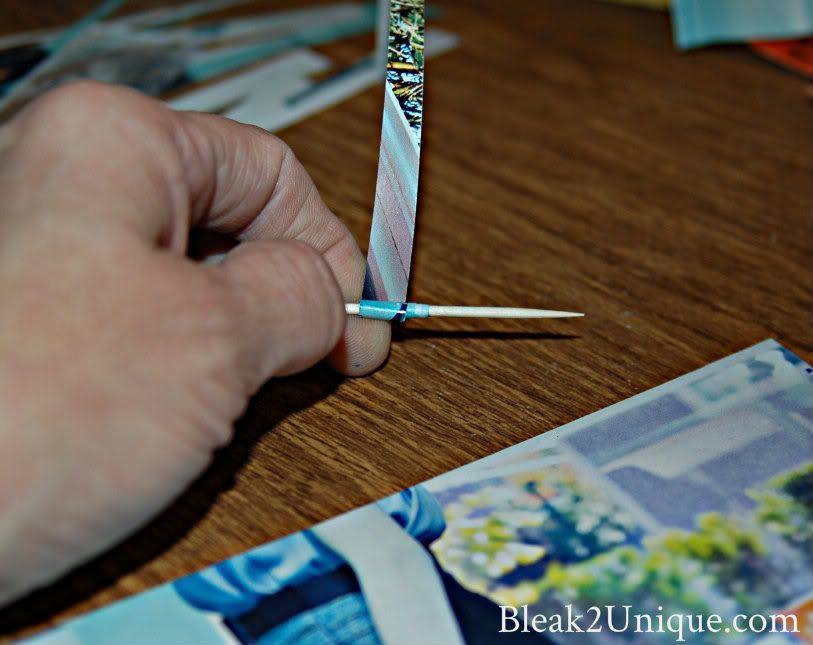 |
| Wrap strip tightly around toothpick |
 |
| Glue end to save your bead |
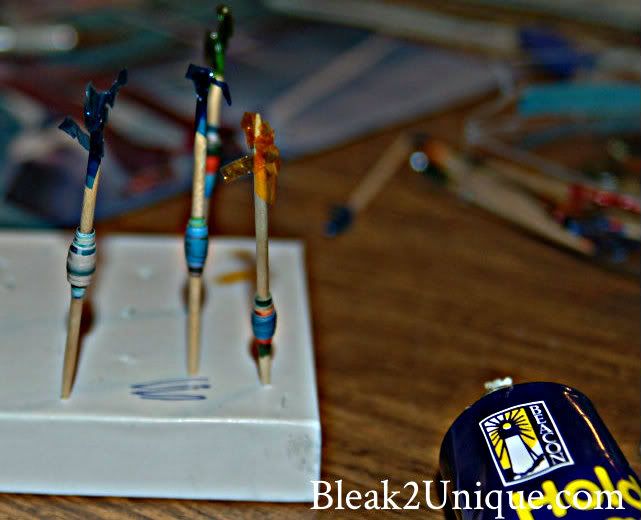 |
| Beads drying |
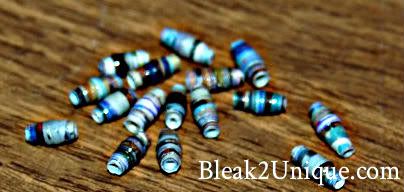 |
| Finished paper beads |
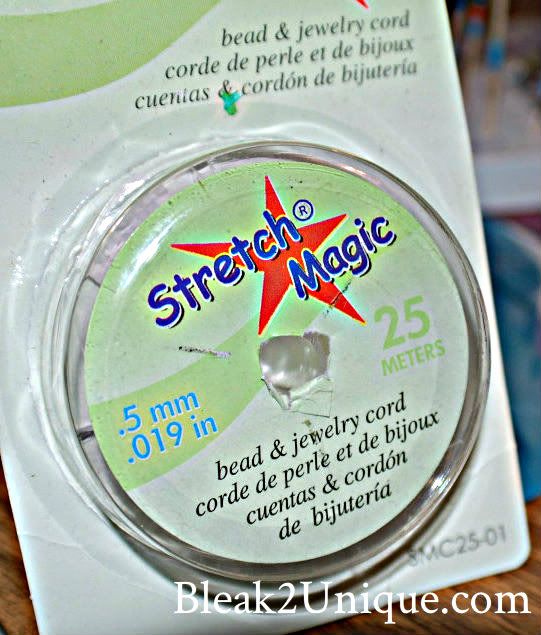 |
| Jewelry cord |
 |
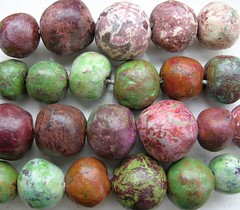
| Extra silver beads for bling |
 |
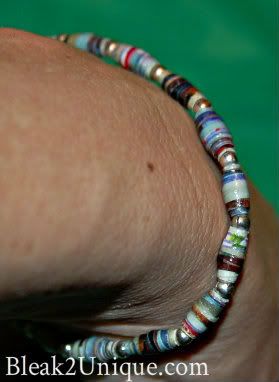
| So Cute! |
 |
| Love it! Hope y'all enjoyed my paper jewelry craft as much as I loved sharing. If so, you may like these too... |
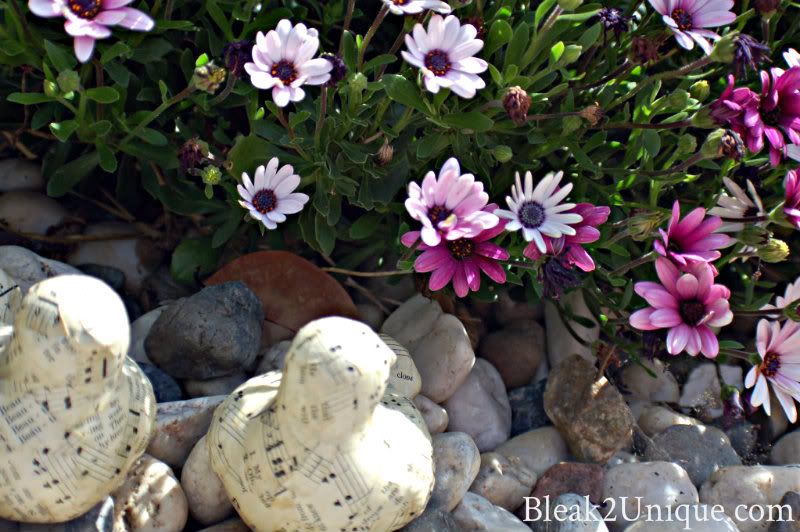 |
| Song Birds |


5 comments:
Love it! What a great idea! I'm going to do this with my daughter, Thanks!
Wow, that is an adorable little craft! Thanks so much for sharing! :-)
I have seen this around but didn't realize it was this easy. Very cute!
I have seen this around but didn't realize it was this easy. Very cute!
Very pretty! This would be fun to do with my daughter! And that trashcan... WOW. Very cool.
Post a Comment