Shop Now!

Dresses from Shabby Apple

Blog Roll

Living SavvyPhotobucketPhotobucket beneath my heartMy Repurposed LifeWelcome to daily d !The Shabby Nest Decorchick! RedouxBecolorful crissy berry button180x150button

My Button!

Sunday, November 27, 2011

Christmas Blogshare!

25 Days of Christmas Blogshare
begins
December 1st!


Join me here everyday in December for the
25 Days of Christmas Blogshare!


Sonya from Parga's Junkyard the creator of the blogshare, Me at Bleak2Unique, and 23 other fantastic bloggers have teamed up to bring some Joy for Christmas!

There will be recipes, gift ideas, tutes, stories, stocking stuffer ideas and much more!

Be sure to check the Christmas Blogshare everyday in December. If you are not a follower of Bleak2Unique then I invite you to follow, because new friends are the greatest blessings any time of the year...

December Blogshare LineUp!

December 1st - Tots and Me -
December 2nd - Vodka and Motherhood
December 3rd - Your Mama Said What
December 4th - Happy Go Lucky Harvey
December 5th - Bleak 2 Unique
December 6th - Pargas Junkyard
December 8th - Radcrafter
December 9th - Pounds 4 Pennies
December 10th -. Smitten by Abigail
December 11th - Empty Nest
December 13th - The Freshman Cook
December 15th - My Simple Walk
December 17th - Childhood Myths
December 18th - Larissa Hill
December 19th - Coupons for Wisconsin
December 21st - Liz Finding My Own Life
December 22nd - Your Mama Said What
December 23rd - Lee Me and the Girls
December 24th - My Crazy Bliss
December 25th - Pargas Junkyard
Christmas is my favorite time of year and I am so excited to be able to share a little of the excitement and fun with you!

Do you have a Christmas blog post you would like to share with our readers? Sign up on our linky below to share your posts! If you are one of our readers and would like to see more Christmas posts click on the Linky below!

Merry Christmas to All!

Wednesday, November 23, 2011

Happy Thanksgiving!

I haven't been on the blog too much today, cause' I gotta cook! We are having a small get together with family and friends to give thanks to God for all His goodness! May God bless you at this wonderful time and I will see you again soon....No I do NOT fight the madness!

Sunday, November 20, 2011

Lamp & Shade Redo

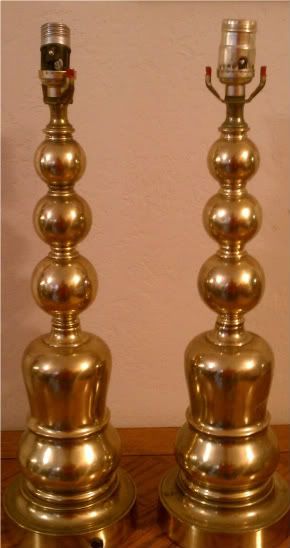
Hi ya'll! come on in and take a look at our latest creation! This foorrrvever project started with these brass lamps, and a pair of vintage burlap shades...
Photobucket
My $2 Brass Lamps
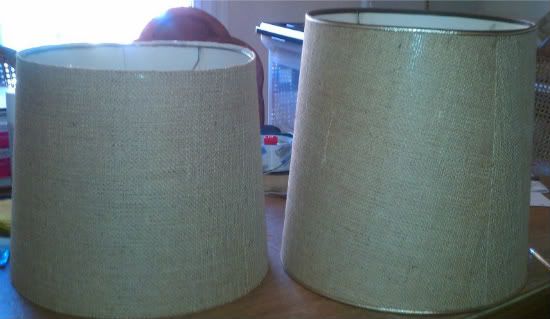
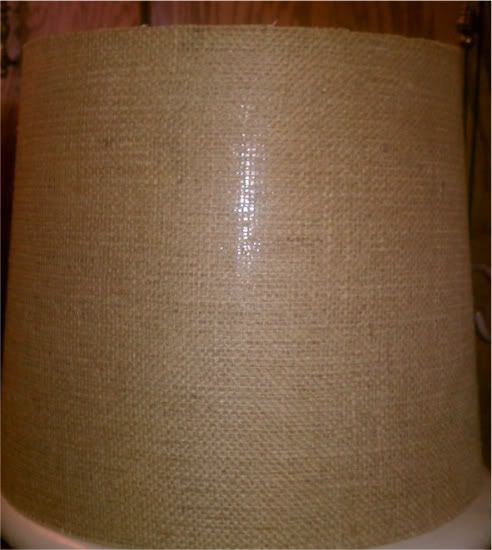
I have seen so many painted brass lamps that I wanted to give it a try. I also found these fantastic vintage burlap shades...from Woolworth (Yes, I am old enough to have been in a Woolworth). 

Woolworth Burlap Shades
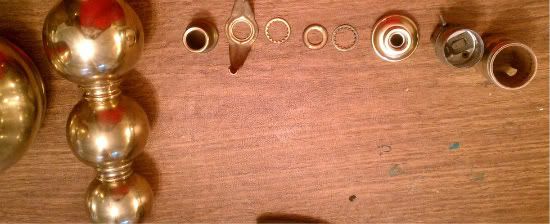
To get started I took the lamps apart (realized later that this was NOT necessary)...the last lamp redo had to be disassembled, so I just started there without really thinking it through...WHO? ME?  The result is a pair of disassembled lamps....oops!


Photobucket
Disassembled Brass
Time to get started painting these "puppies"....what color? I decide on a Robin's egg blue (what else, but blue). I put the lamps back together and got started...


Photobucket
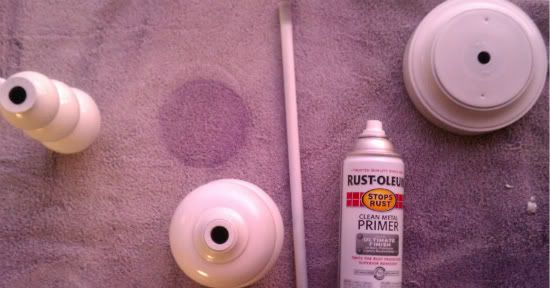
First step....Prime!
Photobucket
Not sure about the Color
The paint was not covering like I would like and it was a little pale (looks darker in the picture).  While I waited on paint to dry (half my life is spent doing this:), I started on the lampshades...( I will soon ask myself WHY?)
LOVE the Burlap!
Time to take it apart...
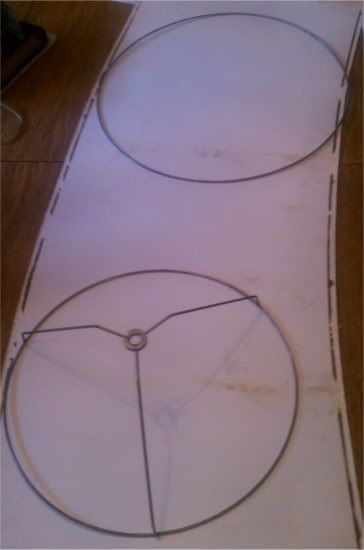
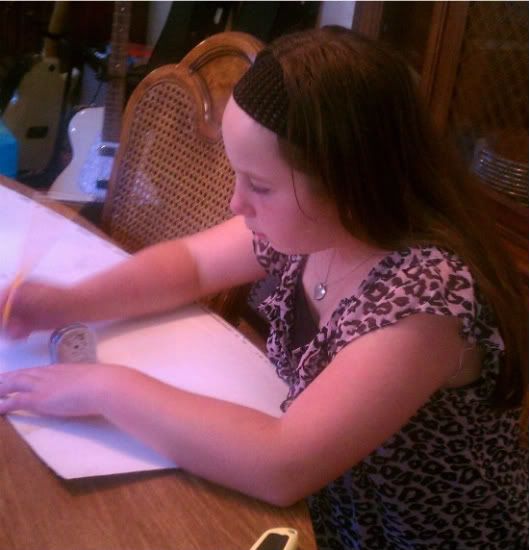
Once the shade is apart, I decide how tall I want the new shade and enlist the help of Amelia to mark off the "cut lines". 
Photobucket
Undone Shade


Photobucket
Amelia hard at work!
Since the shade was tapered, I could not just use a ruler...the line had to be measured inch by inch, so the cut is even. 


Photobucket
Cut Line
At this point I went and put a second coat on the lamps....then back to the shades....
After measuring from the top, I cut off a 1/2 inch, then started on the bottom...
STOP!!!
It was at this point that I realized that if I cut off any of the bottom of the shade, then the bottom ring of the shade would be too big, and the shade would not wrap all the way around....
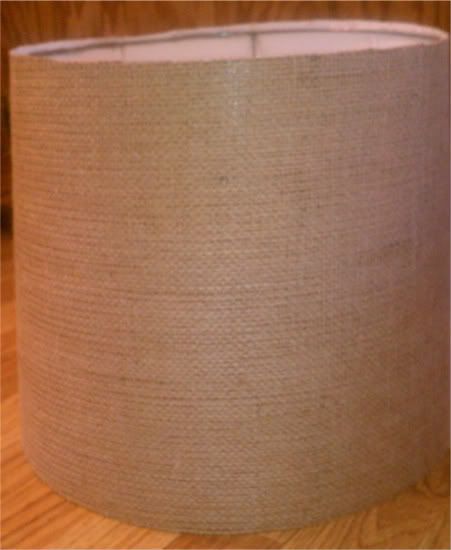
Lesson?...ALL CUTS on a tapered shade MUST be made from the top of the shade (the top ring is smaller, so it will always fit) With disaster avoided I made a final cut to the TOP of the shade, and Voila.... a modified drum shade is born! I just had to glue the shade back on....Check out the comparison...
Photobucket
New Drum Shade
Wouldn't it be nice if that was it...Simple lampshade makeover! A simple makeover was NOT in the cards that day...Do you see what I see????  
Photobucket
AAaaaaahhhhhh!!!!!
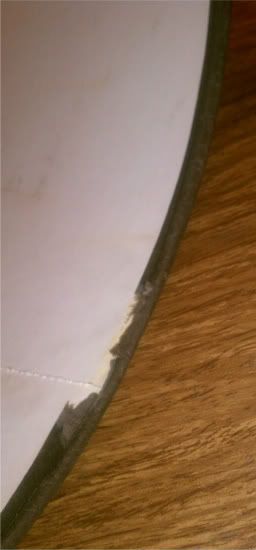
That's right, the shade is CROOKED! How did that happen? Oh yeah, I did not measure from the top of the shade to the ring, and then make a mark or SOMETHING! I really did think that "eyeballing" the ring while gluing would work....It did not! Not only that, but I forgot to paint the inside of the shade before putting it together...UUUGGGHHHHH!!!!!  I shouldn't get in such a hurry, but as an INFP (have you ever taken the Meyers-Briggs personality test?) I just can't help myself! No problem, I could take the shade apart, paint it and then measure and put back together again, right?!?...WRONG! Taking the shade apart made a mess of the inside of the shade (painting did not make it right), so on to plan F!....Cover the inside of the shade!
Messes
Burlap and Fabric to cover inside
Photobucket
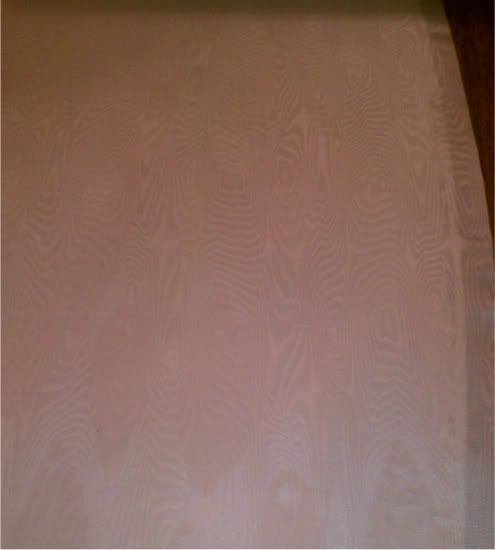
Inside Covered
Although the pic shows a covered shade, it was a little longer process....like the next day! After cutting fabric, spraying adhesive, cutting excess fabric, and removing air bubbles...I went back to the lamps....hated em', and went to bed! 
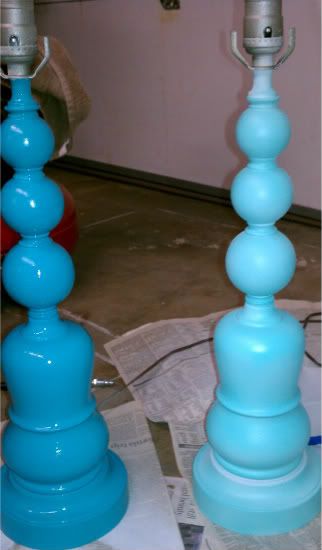
I did not like the color of the lamps, so I painted them with some of the leftover paint from the blue table. The table was a chalk paint so the plain paint was more blue...I think it will be awesome! Whataya think?....
Photobucket
New Blue versus Old Blue....Which one?
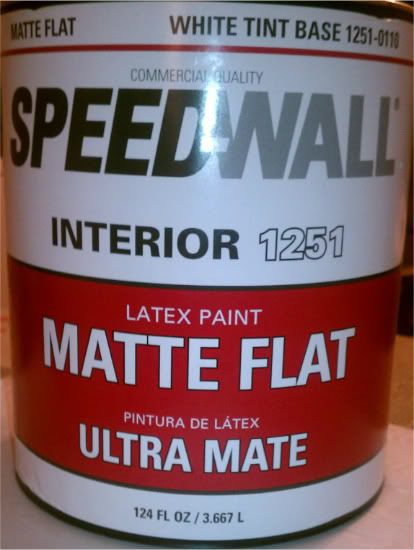
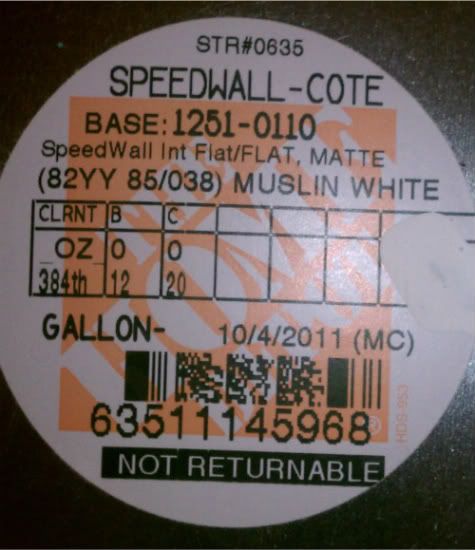
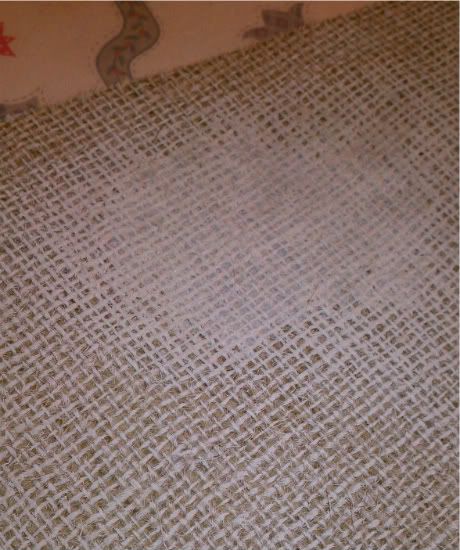
Now back to the shades....It turned out that the burlap had dark spots in places (what else can go wrong with these stinkin' shades?)... Out comes the paint...how about white?...
White is good
Good Color
After a big GLOP of paint in one spot, I realized I did not want "painted"....I wanted a "washed" look. I tried to blot the blop, but it only improved a little...(luckily the "spot" is in the back).  
Photobucket
One more bump in the Road
The wash looks just fine, and the dark spots don't show....Finally...Success!
With the inside and outside of the shade complete, it was time to put it back together...
Will this EVER end?
Puttin' together
Photobucket
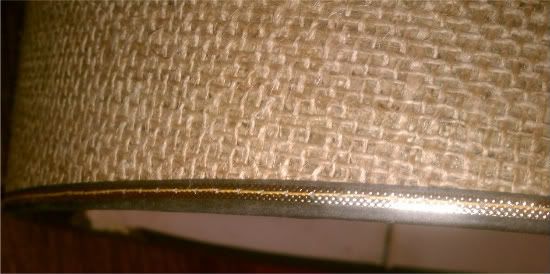
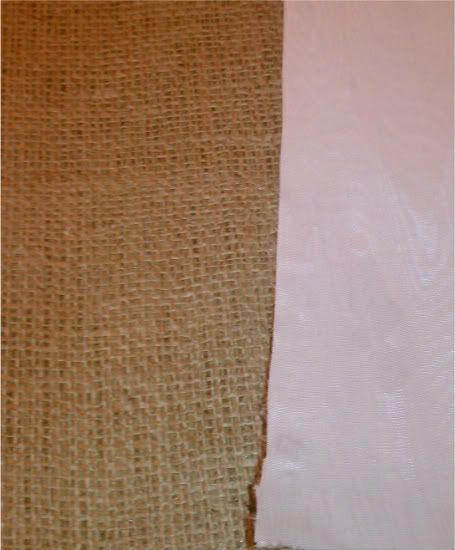
I like the rough edge
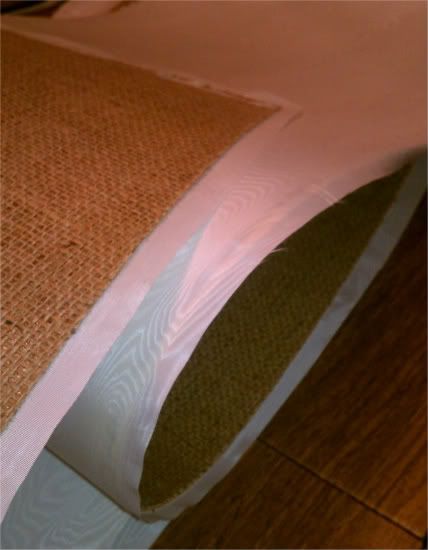
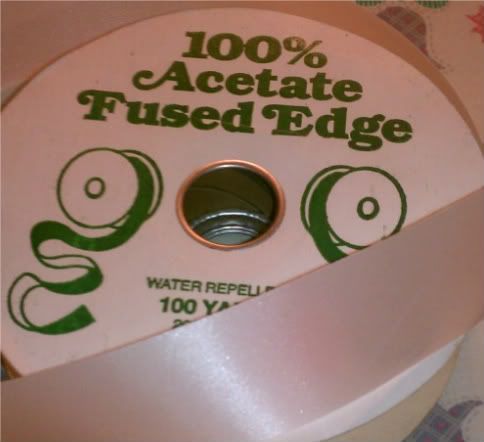
I liked the unfinished look on the burlap side, but the inside was not working, so I was not finished after all.... The lamps have been dry and had 2 coats of paint waiting for their shades....I couldn't give up, so out comes the ribbon...
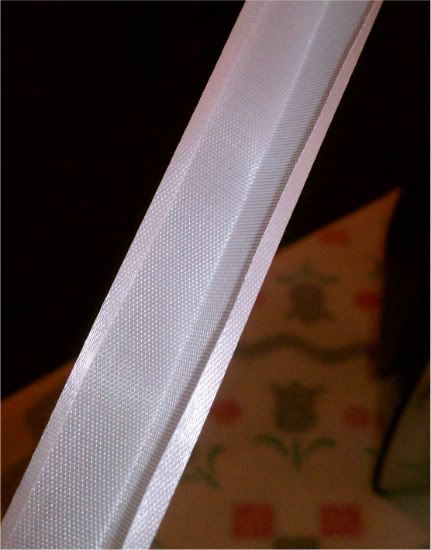
Photobucket
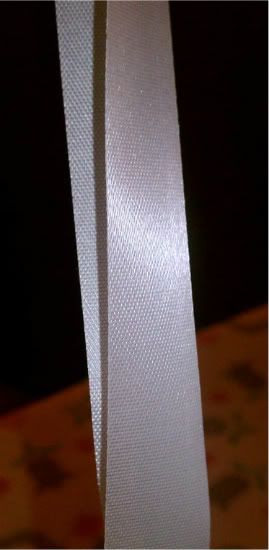
Ribbon for edging
I folded the ribbon in half, and then folded each edge an 1/8 of an inch to make a trim...like this....
Fold in half
1/8" edge on each side
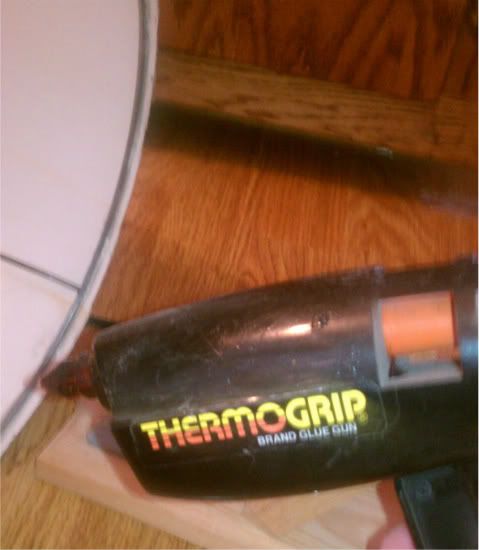
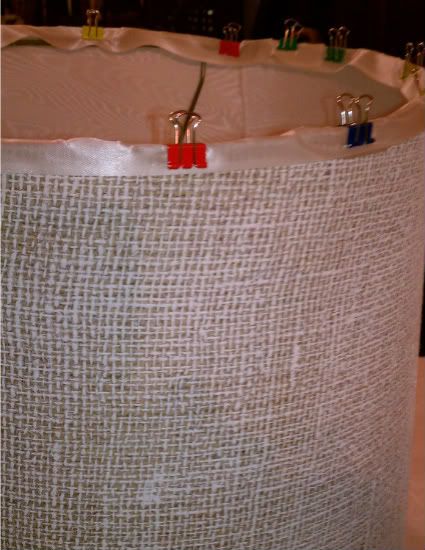
As if this project did not have enough steps....then I had to glue the trim on. I clipped it on then glued one section at a time.....
Photobucket
It's gettin' there!
Several burned fingers later....I've Got Shades!!!!
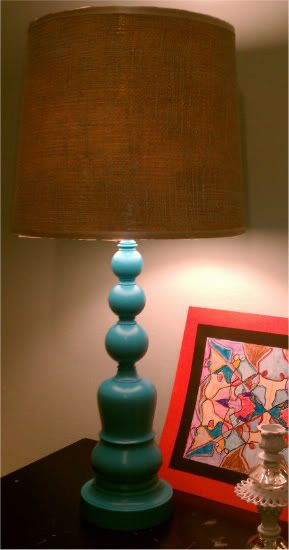
So now for the big reveal...if you had the patience to get this far!
 I have to be honest....If I had known the trouble these two lampshades were going to be, I would have gone to Target and bought 2 new shades....I love DIY, but good grief!!
Mouse over images below...


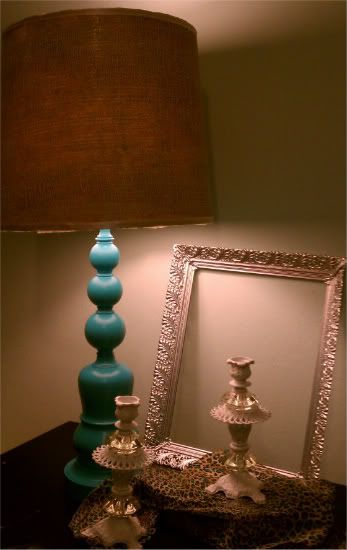
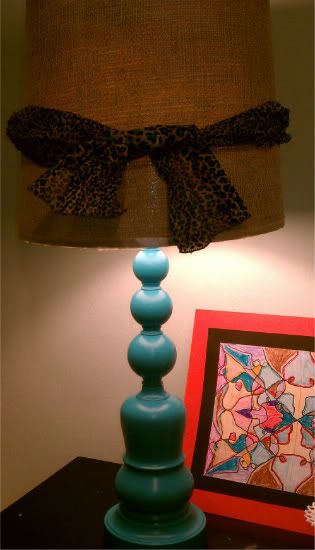
My new Blue Lamps!


Love Blue


Leopard Scarf....Perfect!
So whatcha think? I love to hear a good lamp story, so tell me...did your lamp project become a nightmare too? Talk to y'all soon


Linking up here....
Visit thecsiproject.com

Saturday, November 19, 2011

Blog Watchin'

Grab your coffee and come on in! I have not published a post since Tuesday...Why you ask? I have been sooo busy checking out everyones great ideas for Thanksgiving and Christmas. I have linked to parties, followed some great bloggers, and just had a great time looking around. Of course I have been working on projects too! I have the garage full of chairs, picture frames, and LOTS of lamps. I just love lamps...you can't have too many!
One of my current makeovers!
Anyway, the lamps I'm working on ( a simple pair of brass lamps) have been absolutely exhausting! Ever had a project that was a textbook example of "Murphys Law" in action...well, that's these lamps :(
Hopefully I will finish tomorrow, because I need to get started on my Christmas party Blog tutorial and several other things...Not to mention preparing Thanksgiving dinner. Oh my goodness, I have got to go...I've got to get busy. Talk to you tomorrow

Tuesday, November 15, 2011

Revamp the Lamps!

Hi Ya'll, got your coffee?...Good, cause I wanna share our latest garage sale makeover. I found this pair of vintage lamps at a garage sale for only $10, and of course I had to have them....(to go with the other 12 in the garage :) The huge plastic lamp shades were sooo big I could not fit them in the car, (okay...so the car was full of other treasures).
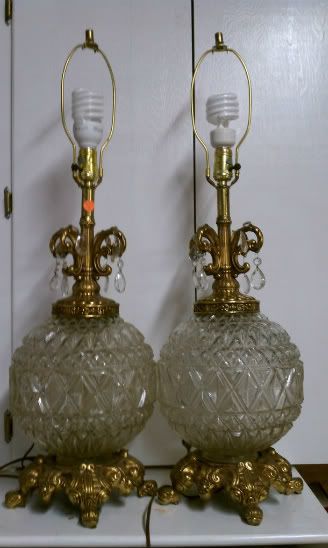
Photobucket
Lamps! Lamps! Lamps!
Ya Gotta Love 'Em!
Well, you don't have to love em', but can you see the potential?.....

So are you ready to jump into the process?....First I grabbed my #1 tool...my smart phone (Love my Sprint Evo)...Taking pictures before I start ripping things apart helps me to get things back together in the right order. I used to think I would remember, but after a few "leftovers" after assembly....I learned to take a pic!
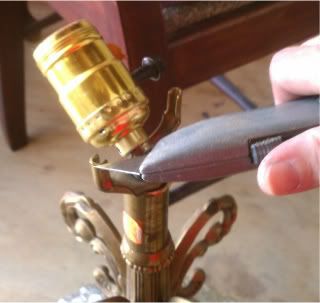
First hurdle...I couldn't get the things apart! After several tries I considered cutting the wires, (little voice is screaming NO at this point), but I didn't think that was the best decision, so I thought about it...then cut the wires anyway. Okay, patience is not my strongest quality, but I did get the brass beasts apart...
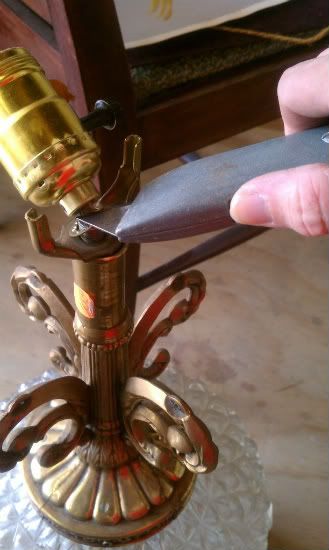
Should I or Shouldn't I?
Just Do It!!
Brass beasts disassembled!
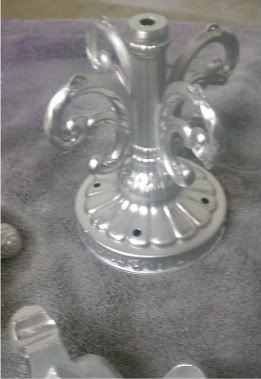
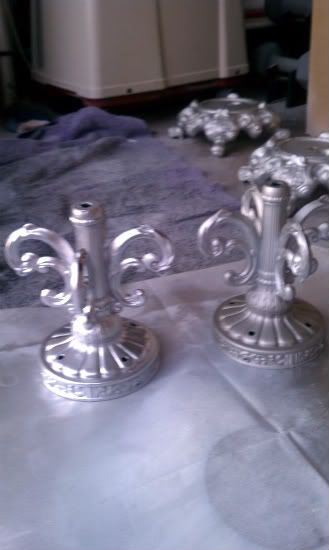
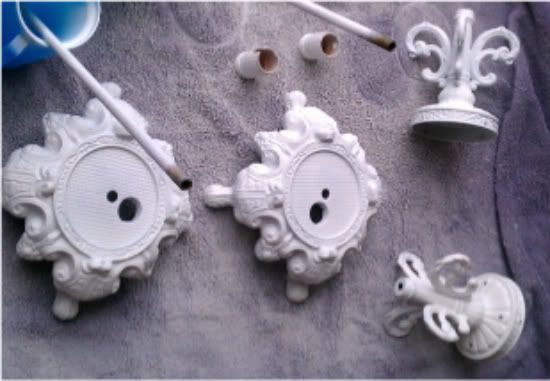
Next, I primed with Rustoleum metal primer (2 coats), and picked out a satin nickel paint....but the trigger was broken, so I went with  Krylon sterling silver spray paint instead...in retrospect, probably not the best idea!
Photobucket
Primed and Ready!
Shiny?
Not So Sure About the Sterling....
Whataya think?

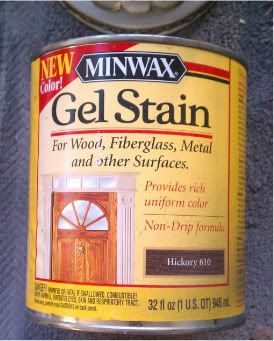
This pic does not do justice to the SHINE....these babies were bright! I love bright, but they kinda looked plastic...so my creative brain went into high gear...What should I do?....how 'bout a little stain to give em' an antique look?....I don't like to think about it too much, I'd rather just try it, so that's what I did....


Photobucket
Hickory?....why not!
Well, I just scrolled through my pics, and I guess I forgot the "antiqued" pic....It was AWWWFUL! The whole thing just looked dull brown, so back to the primer.  I only tried the stain on one piece so I only had to reprime and repaint one piece. While waiting for the different coats of paint to dry I started on my idea for the glass....BLUE! I love blue and I have been wanting to try out glass paint so I picked up a few supplies and got started...
Photobucket
I couldn't decide which blue....so I got both!
****Advice Moment**** Read the directions on the bottle prior to leaving the store!
I bought the glass paint, went home and then noticed that according to the directions, I needed to prepare the surface with another product first...Oops! So, back to the store where I picked up the prep solution...
Photobucket
Conditioner...just smells like alcohol!
****WARNING**** As much as I like Amelia to help me, there is a warning on glass paint about birth defects and reproductive harm....YIKES!  I'm not having anymore babies, but I just want to warn all you future mommies to use with caution...
Photobucket
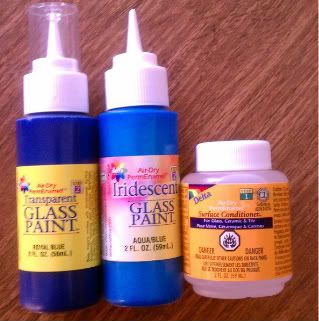
Here is the magic!
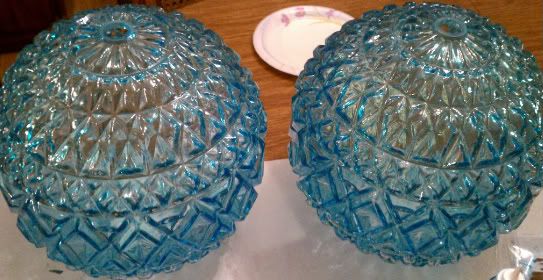
I purchased 2 blues and 2 different kinds of glass paint (cause I can't have things too simple). I chose Delta glass paint in Navy blue transparent, and Aqua blue iridescent. The navy seemed to dark and the aqua was too bright...plus, iridescent sounded more fun than transparent! I mixed the 2 blues 1/2 and 1/2 and then got started painting...I decided to paint the inside of the glass rather than the outside (no chance of chipping off with kid use...you know kids love to touch the "pretty glass"). The paint is dishwasher safe so I think the heat from the inside light will be okay...Here is the result
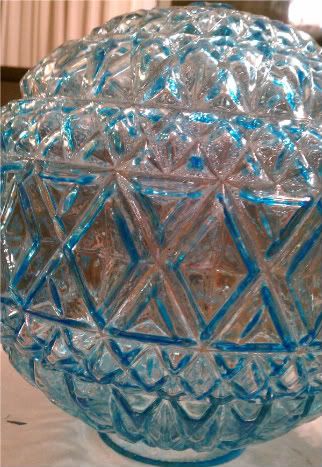
I''m likin' it!
I LOVE Blue!!!
How 'bout you?
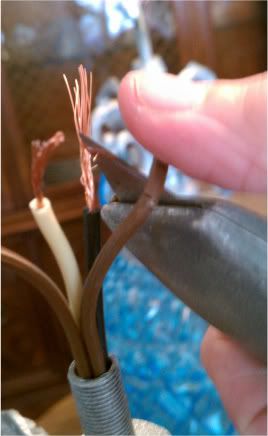
Now back to the bright silver...I decided to put a lamp together and see if I liked the look... First I had to become proficient at wiring (since I cut the wires earlier)...thank goodness my husband is so handy, so it wasn't too hard (especially since I used my evo to make sure I knew where each wire went)....
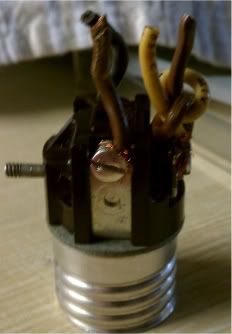

Wiring too?
Splice and Dice
And here is the result...whataya think?...
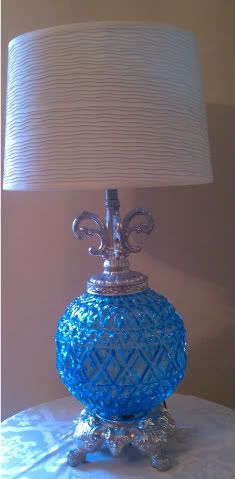
Photobucket
Too Shiny or Not?
I asked friends and family and the vote was unanimous...
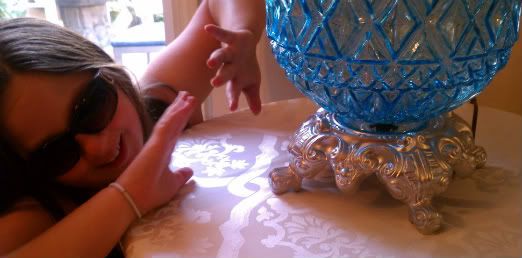
Photobucket
"I gotta wear shades, Mom!!!"
...The silver needed to be toned down a notch. Back to the paint isle where I picked up some Rustoleum satin nickel...wasn't that my first choice (when will I learn?)... Here are the two side by side...
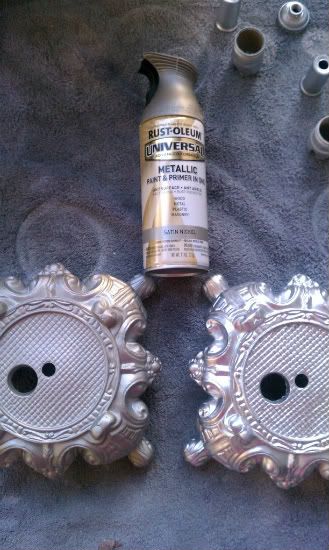
Sometimes Dull is Better!
How many times do I have to paint these?
Done and Done!...Color is right and it is time to paint it all and endure the process of waiting for paint to dry...uuugggghhhhh!
Of course, I can't just wait...I painted a few of the teardrop crystals blue too....gotta have a little bling, right?...READY?!?....
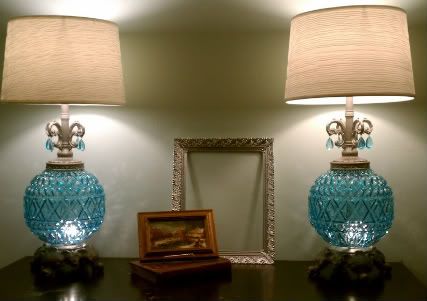
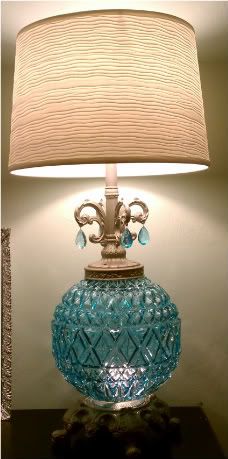
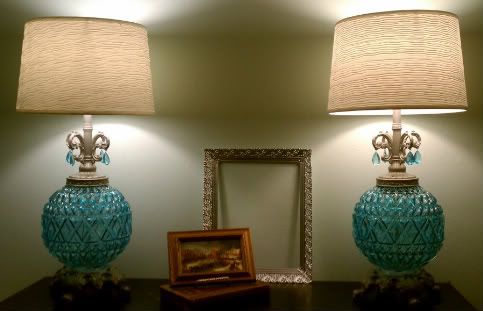
Here is the before and after reveal....be sure and let me know what you think...I love em'!!!
Love my new lamps!


Blue is best!


Okay, so I didn't really like the "bulb" look at the bottom, so I fixed it with some diffusers...you can see the post HERE...the result is next... 
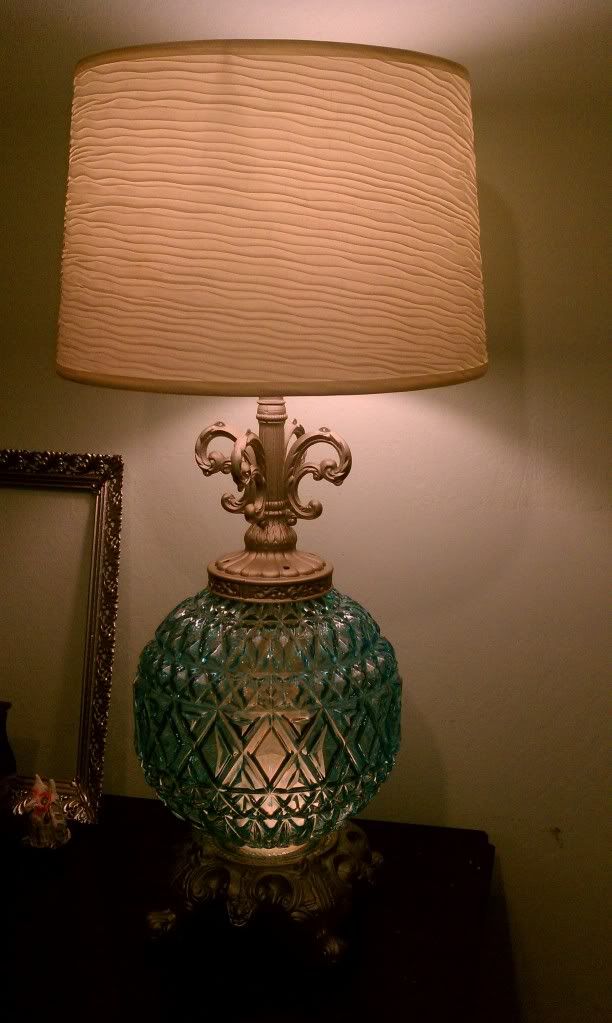
No teardrops....with diffuser
I love comments (doesn't everyone), so please "talk to me"...Ya'll are the greatest,


Linking up here...
Visit thecsiproject.com