


Hi ya'll! come on in and take a look at our latest creation! This foorrrvever project started with these brass lamps, and a pair of vintage burlap shades...
I have seen so many painted brass lamps that I wanted to give it a try. I also found these fantastic vintage burlap shades...from Woolworth (Yes, I am old enough to have been in a Woolworth).
To get started I took the lamps apart (realized later that this was NOT necessary)...the last lamp redo had to be disassembled, so I just started there without really thinking it through...WHO? ME? The result is a pair of disassembled lamps....oops!
Time to get started painting these "puppies"....what color? I decide on a Robin's egg blue (what else, but blue). I put the lamps back together and got started...
The paint was not covering like I would like and it was a little pale (looks darker in the picture). While I waited on paint to dry (half my life is spent doing this:), I started on the lampshades...( I will soon ask myself WHY?)
Once the shade is apart, I decide how tall I want the new shade and enlist the help of Amelia to mark off the "cut lines".
Since the shade was tapered, I could not just use a ruler...the line had to be measured inch by inch, so the cut is even.
At this point I went and put a second coat on the lamps....then back to the shades....
After measuring from the top, I cut off a 1/2 inch, then started on the bottom...
STOP!!!
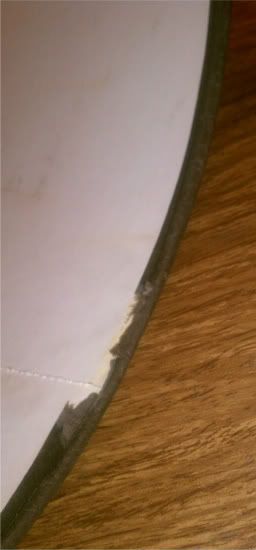
It was at this point that I realized that if I cut off any of the bottom of the shade, then the bottom ring of the shade would be too big, and the shade would not wrap all the way around....
Lesson?...ALL CUTS on a tapered shade MUST be made from the top of the shade (the top ring is smaller, so it will always fit) With disaster avoided I made a final cut to the TOP of the shade, and Voila.... a modified drum shade is born! I just had to glue the shade back on....Check out the comparison...
Wouldn't it be nice if that was it...Simple lampshade makeover! A simple makeover was NOT in the cards that day...Do you see what I see????
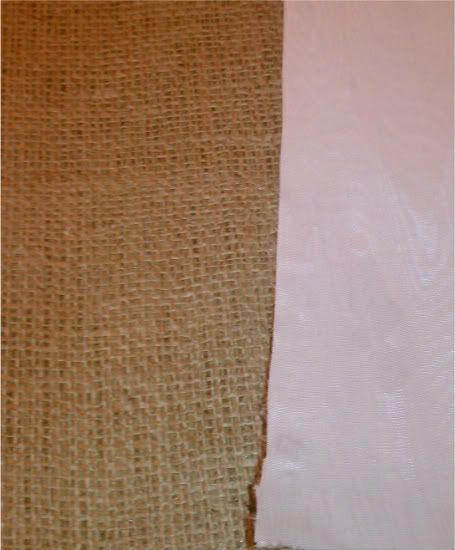
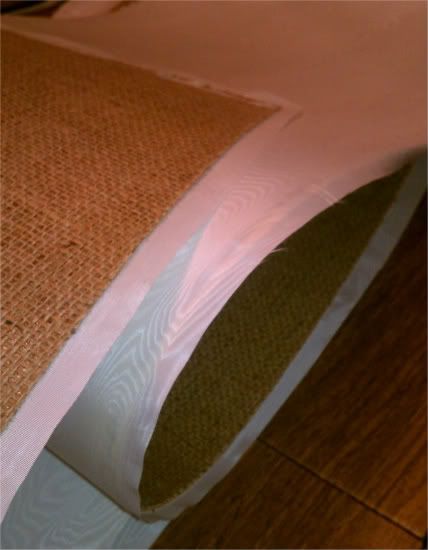
That's right, the shade is CROOKED! How did that happen? Oh yeah, I did not measure from the top of the shade to the ring, and then make a mark or SOMETHING! I really did think that "eyeballing" the ring while gluing would work....It did not! Not only that, but I forgot to paint the inside of the shade before putting it together...UUUGGGHHHHH!!!!! I shouldn't get in such a hurry, but as an INFP (have you ever taken the Meyers-Briggs personality test?) I just can't help myself! No problem, I could take the shade apart, paint it and then measure and put back together again, right?!?...WRONG! Taking the shade apart made a mess of the inside of the shade (painting did not make it right), so on to plan F!....Cover the inside of the shade!
Although the pic shows a covered shade, it was a little longer process....like the next day! After cutting fabric, spraying adhesive, cutting excess fabric, and removing air bubbles...I went back to the lamps....hated em', and went to bed!
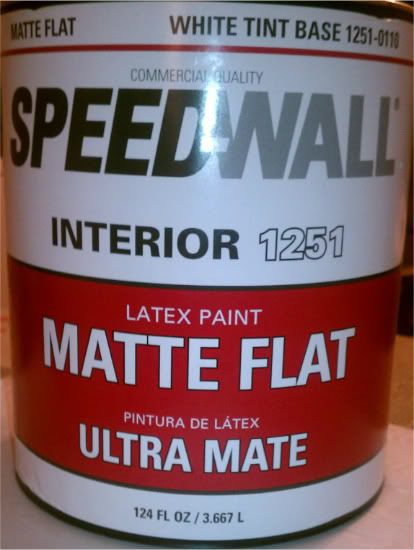
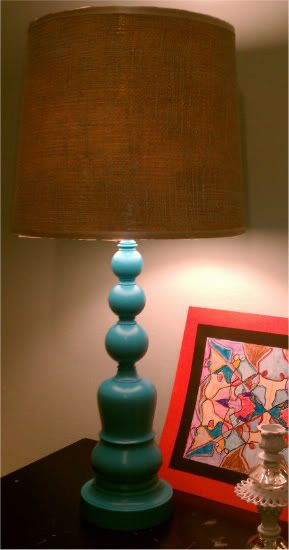
I did not like the color of the lamps, so I painted them with some of the leftover paint from the blue table. The table was a chalk paint so the plain paint was more blue...I think it will be awesome! Whataya think?....
Now back to the shades....It turned out that the burlap had dark spots in places (what else can go wrong with these stinkin' shades?)... Out comes the paint...how about white?...
After a big GLOP of paint in one spot, I realized I did not want "painted"....I wanted a "washed" look. I tried to blot the blop, but it only improved a little...(luckily the "spot" is in the back).
The wash looks just fine, and the dark spots don't show....Finally...Success!
With the inside and outside of the shade complete, it was time to put it back together...
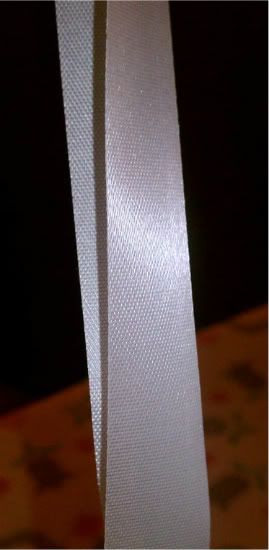
I liked the unfinished look on the burlap side, but the inside was not working, so I was not finished after all.... The lamps have been dry and had 2 coats of paint waiting for their shades....I couldn't give up, so out comes the ribbon...
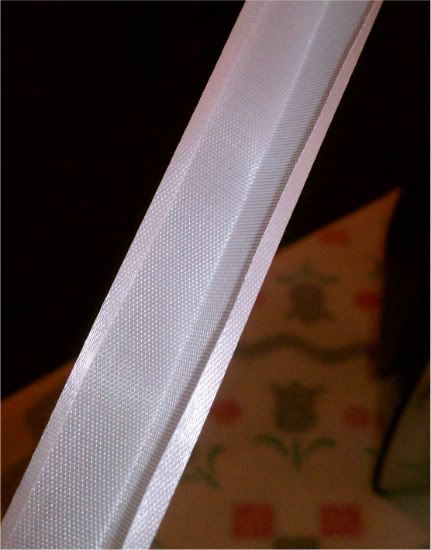
I folded the ribbon in half, and then folded each edge an 1/8 of an inch to make a trim...like this....
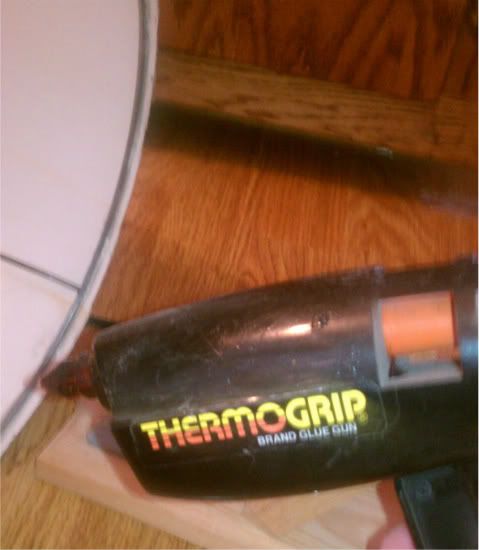
As if this project did not have enough steps....then I had to glue the trim on. I clipped it on then glued one section at a time.....
Several burned fingers later....I've Got Shades!!!!
So now for the big reveal...if you had the patience to get this far!
I have to be honest....If I had known the trouble these two lampshades were going to be, I would have gone to Target and bought 2 new shades....I love DIY, but good grief!!
Mouse over images below...
So whatcha think? I love to hear a good lamp story, so tell me...did your lamp project become a nightmare too? Talk to y'all soon
Linking up here....

 |
| My $2 Brass Lamps |
 |
| Woolworth Burlap Shades |
 |
| Disassembled Brass |
 |
| First step....Prime! |
 |
| Not sure about the Color |
|
|


 |
| Undone Shade |
 |
| Amelia hard at work! |
 |
| Cut Line |
STOP!!!
It was at this point that I realized that if I cut off any of the bottom of the shade, then the bottom ring of the shade would be too big, and the shade would not wrap all the way around....
Lesson?...ALL CUTS on a tapered shade MUST be made from the top of the shade (the top ring is smaller, so it will always fit) With disaster avoided I made a final cut to the TOP of the shade, and Voila.... a modified drum shade is born! I just had to glue the shade back on....Check out the comparison...
 |
| New Drum Shade |
 |
| AAaaaaahhhhhh!!!!! |
|
|
 |
| Inside Covered |
I did not like the color of the lamps, so I painted them with some of the leftover paint from the blue table. The table was a chalk paint so the plain paint was more blue...I think it will be awesome! Whataya think?....
 |
| New Blue versus Old Blue....Which one? |
|
|
 |
| One more bump in the Road |
|
|
 |
| I like the rough edge |
 |
| Ribbon for edging |
|
|
 |
| It's gettin' there! |
I have to be honest....If I had known the trouble these two lampshades were going to be, I would have gone to Target and bought 2 new shades....I love DIY, but good grief!!
Mouse over images below...
 |
| My new Blue Lamps! |
 |
| Love Blue |
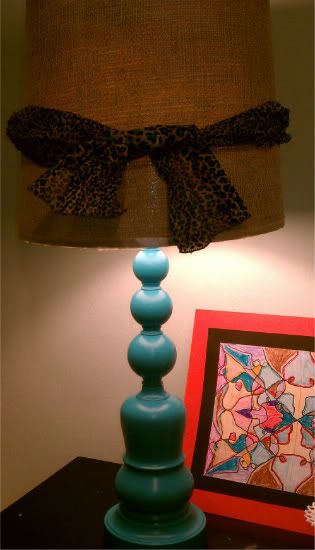 |
| Leopard Scarf....Perfect! |
Linking up here....


23 comments:
I love turquoise so I'm lovin' those lamps. It was pure genious to use folded ribbon for a trim. The overall outcame was amazing. You couldn't have done better.
It looks great. I love that last show with the cheetah fabric tied around it. The darker turq. looks better too.
winks, jen
Great job! Beautiful!
I actually really liked the first blue until I saw it next to the darker one. Beautiful color! My lamps are super dull and one of these days I need to give them a little umph... yea, one of these days.
Amazing project! What a talent! Thanks for sharing.
Hope to see you on my blog:)
I am inspired! Another great post on lamp makeovers. Thank you for visiting my blog and following..I am now a follower, too. Happy THanksgiving!
Love the burlap shades, but what a load of trouble they gave you. For someone who claims to be impatient, you sure stuck it out with that project.
Great transformation! Love the color.
I think all of your troubles were definitely worth it. These look fabulous. I love your blog. I'm your newest follower.
Would love to see you DIY Home Sweet home.
Jamie
http://diyhshp.blogspot.com/
P.S. I have a linky every Monday. Would love for you to stop by and link up.
Wow that was a challenge but it turned out great in the end. Love the color!
Oh I forgot to say, I too remember Woolworth all too well:)
..your lamp shades looks really great..
good work!
*_* maica *_* Buy and Sell
These look awesome! Love the idea if painting the brass lamps but the shades look a little above my skill level :) I would have to go to Target for those!
You are a creative GENIUS! I love this tutorial and the results are incredible! I'm so glad you left me a sweet note, so fun to follow you back over for a fun visit!!! I'm your newest follower!
Hugs,
Aimee from ItsOverflowing.com
I've gotta be honest, I'm a little exhausted just thinking about all that you had to do here but the end result was actually worth all that effort. Think how much you learned and shared with us so we can shorten this process and how much easier it will be for you next time around. Will there be a next time? :) I always love it when bloggers share what goes right and wrong in a project. Thanks so much for sharing your post on Motivated Monday at BeColorful.
pam
Looks like this lamp redo was an interesting little adventure, but it was totally worth it. Your lamps look fantastic!!!
Great makeover--love that shade of blue. Thanks for linking up to Share the Love Wednesday
These ended up great! They look a lot like my projects...full of twists and turns to get to the final destination :) New follower; thanks for following me! -Jill
Another set of gorgeous lamps? You my dear are a lucky duck... I pretty much hate all of my lamps.. You have definately changed my perception when I go to a thrift store again!
Another stunning lamp! Those nice brass lamps are put to use again with a brand-new look!
Love the lines of the lamps - they look so much better blue with burlap!
-Jill
Oh my gosh, I painted a pair of brass lamps the exact same color of turquoise! Funny! I distressed mine. I am indecisive about the shade though so I haven't posted it yet though. Thanks so much for stopping by my blog...I'm following you now too! :)
Jamie
This is a really beautiful piece! You don’t have to look around in some lights boutique; just a shade of blue paint will do! Haha! Anyway, your lamp is really an interesting piece to look at. It created a whole new vibe on your nightstand. Good job!
Maria Messiter @ Uttermost Australia
Post a Comment