


 |
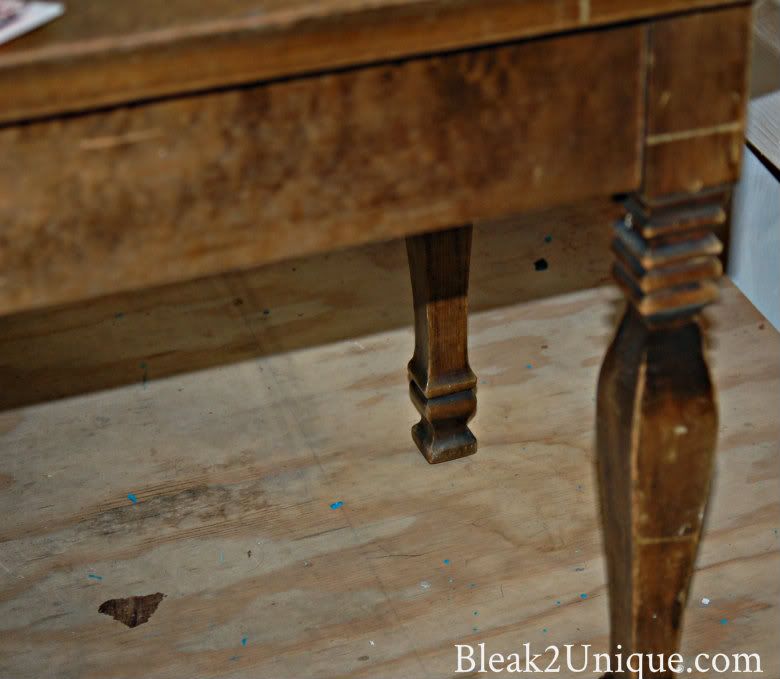
| Old piano bench |
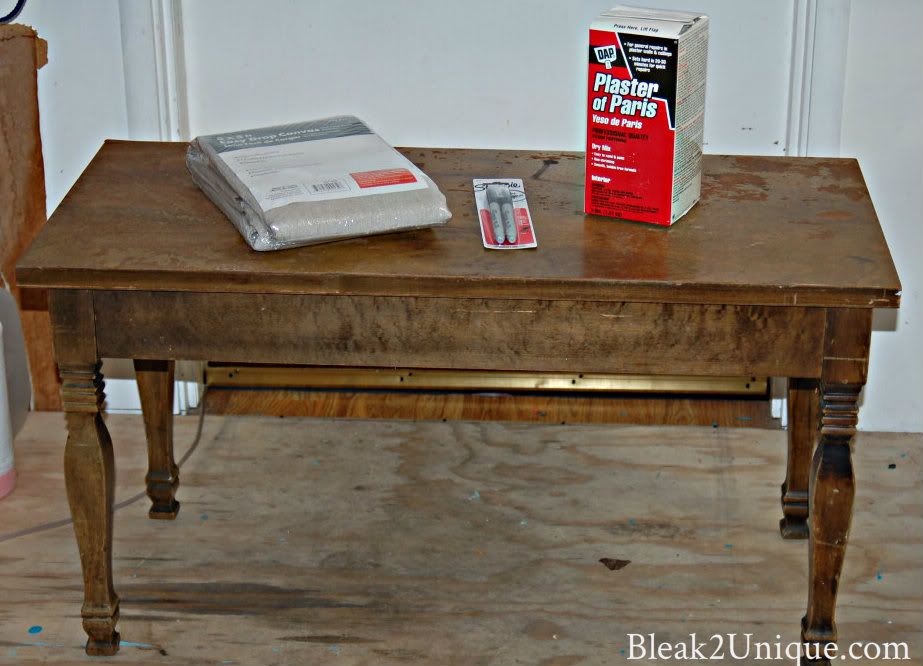 |
| Bench, drop cloth, plaster of paris for paint, and Sharpies |
|
|
|
|
 |
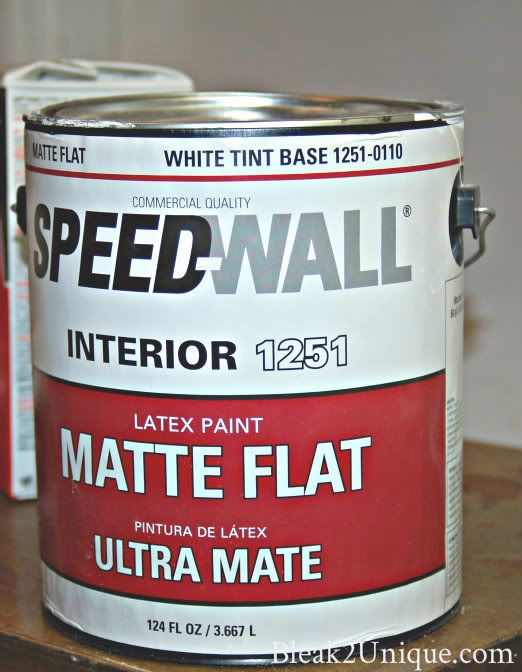
| 1/3 cup plaster of paris |
 |
| 1 cup flat latex mixed in....buttery smooth |
 |
| Sanding or chalk paint?....definitely paint! |
 |
| One coat |
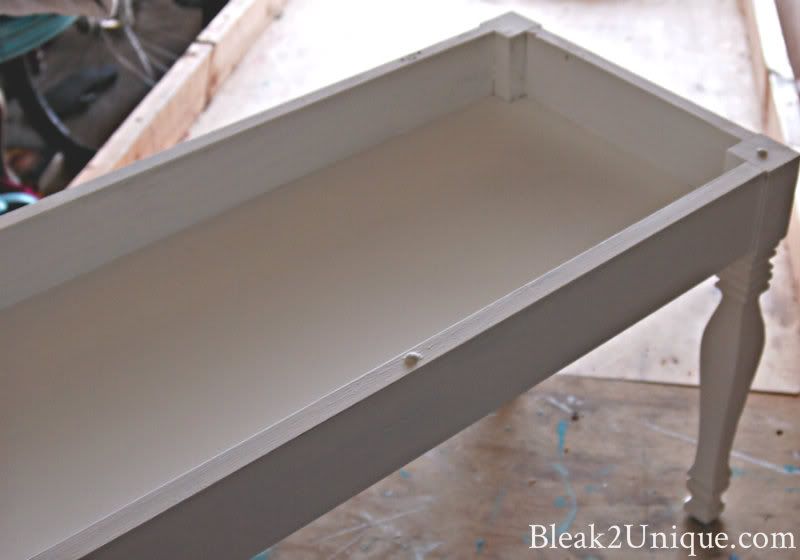 |
| 2 coats on...lookin' good |
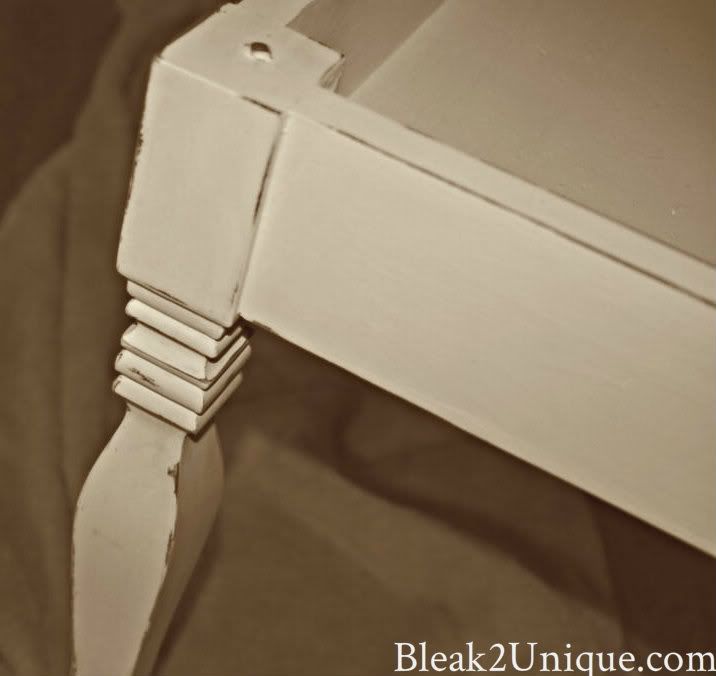 |
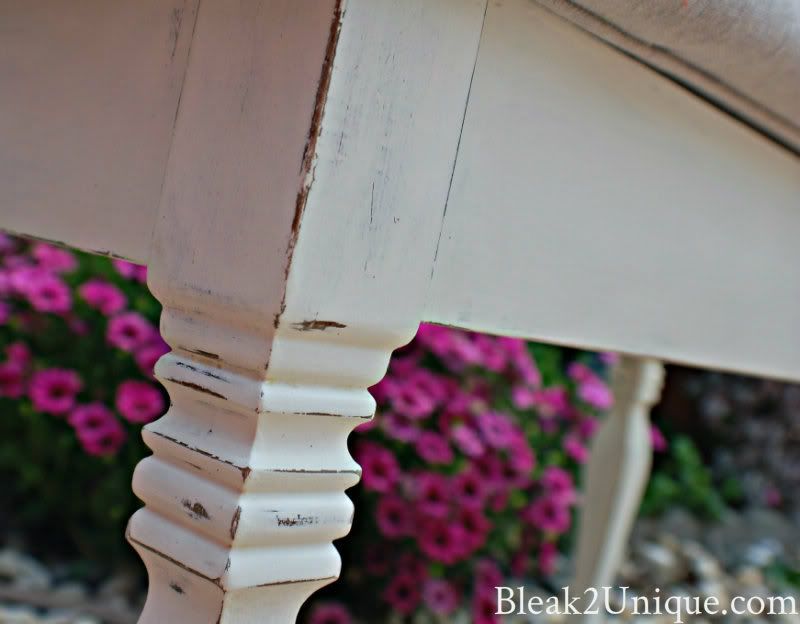
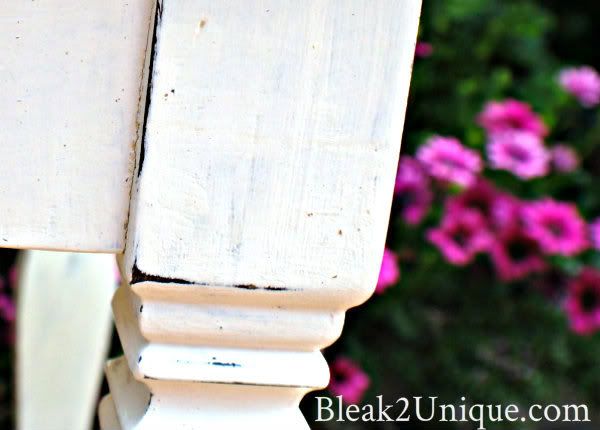
| Sanded and lightly distressed |
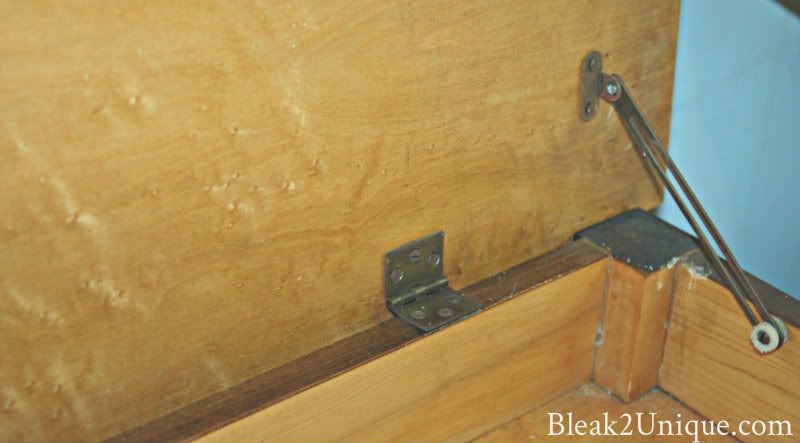
Back to work...I decided to use a cushion from an old broken lawn chair for the seat.....free is best!
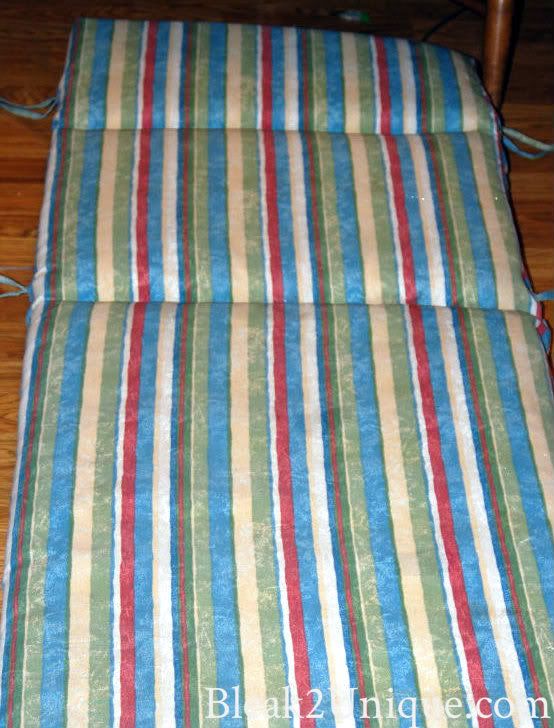 |
| Great free cushion |
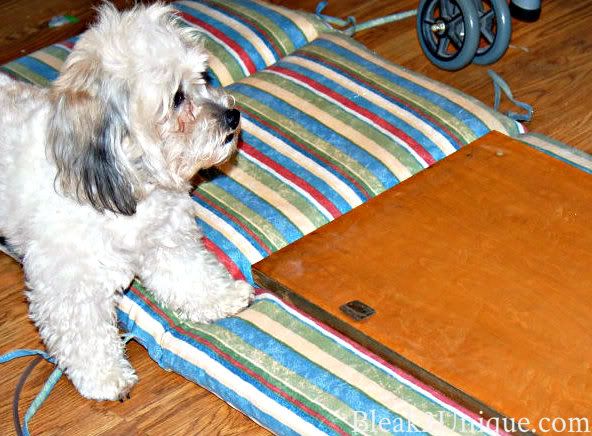 |
| "Mom, This is mine...pleeease!" Look at those sad eyes |
 |
| "New" stuffing...now I need some new scissors |
 |
| I need DIY for dummies! |
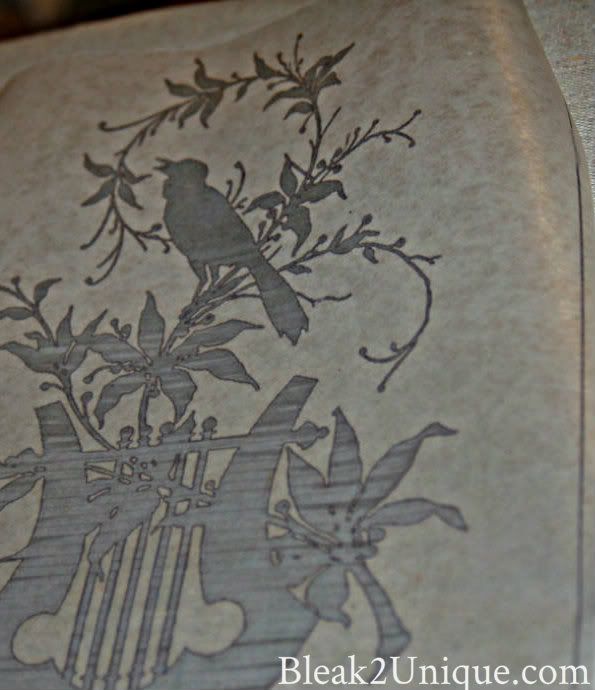
I printed out all my designs on the wax paper, got the iron hot, and NOTHING!
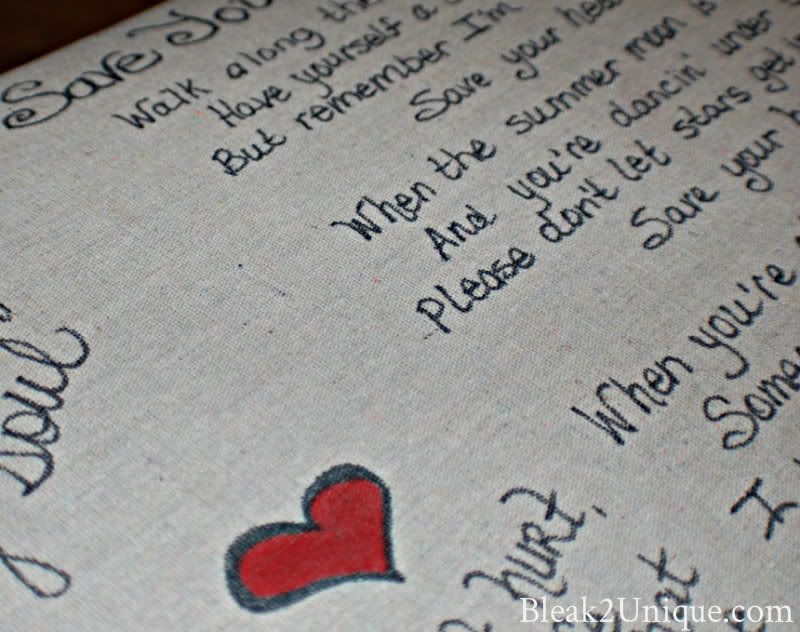
Wax paper does not transfer a thing. Most people would probably have waited and bought freezer paper, but I have zero patience, and I wanted it done, so I needed a new plan...Cover the bench and make Sharpie magic later.
Now I was ready to cover the lid...or so I thought. The actual covering and stapling photos are few cause' I got totally distracted....Here' what I have...
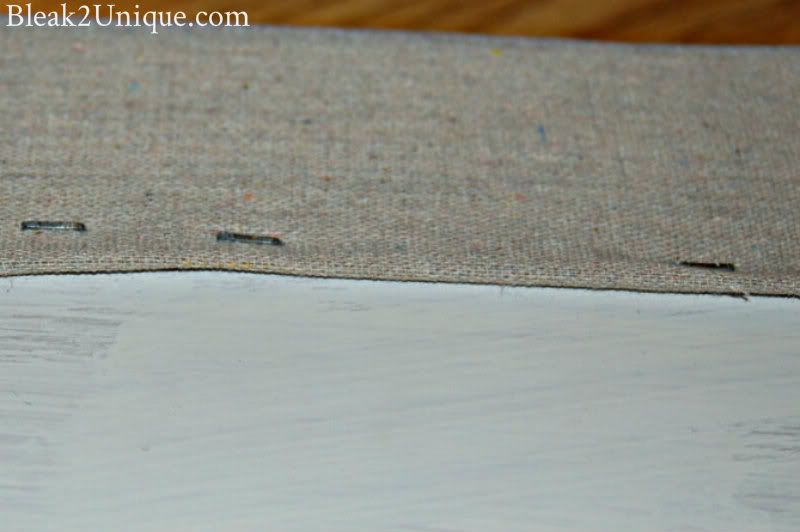 |
| Staple the center of all four sides first...then corners |
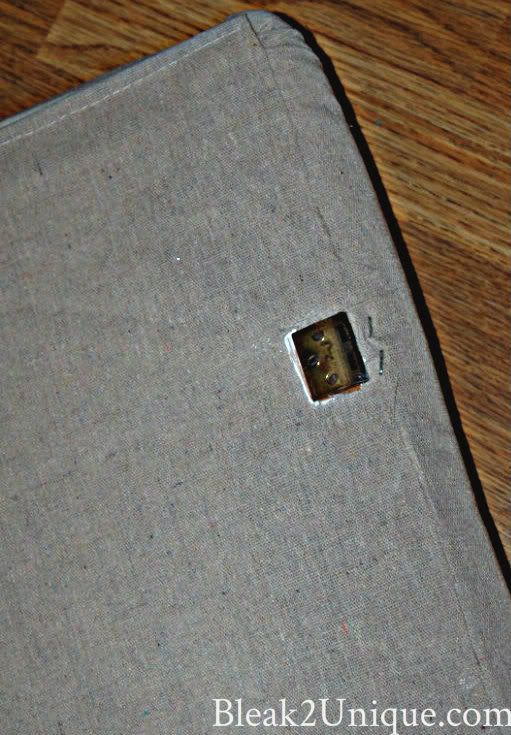 |
| To cover the entire bottom I cut more drop cloth, and used some spray adhesive |
Why so few pics, and what distracted me? Well here is where we have a DIY for dummies moment! Does anyone own a staple gun? Have you owned an older staple gun? Well there is a difference...and I know what it is, do you?...
DIY for DUMMIES LESSON...
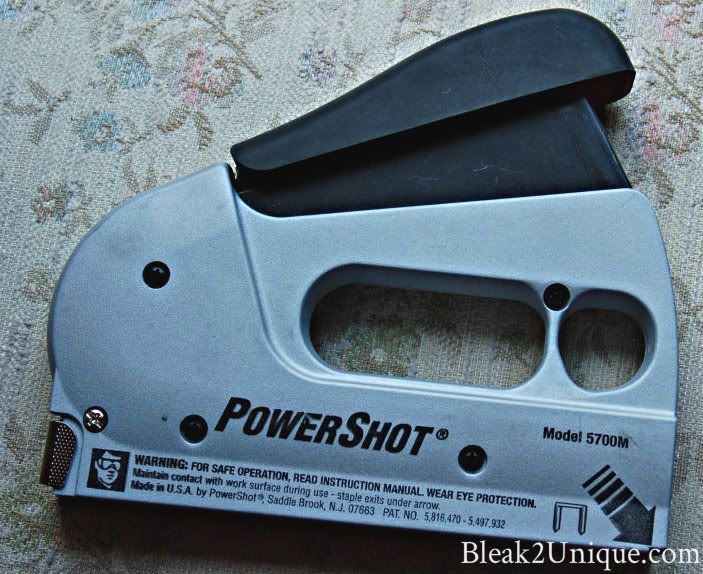 |
| Dummie Fact #1...This is a staple gun |
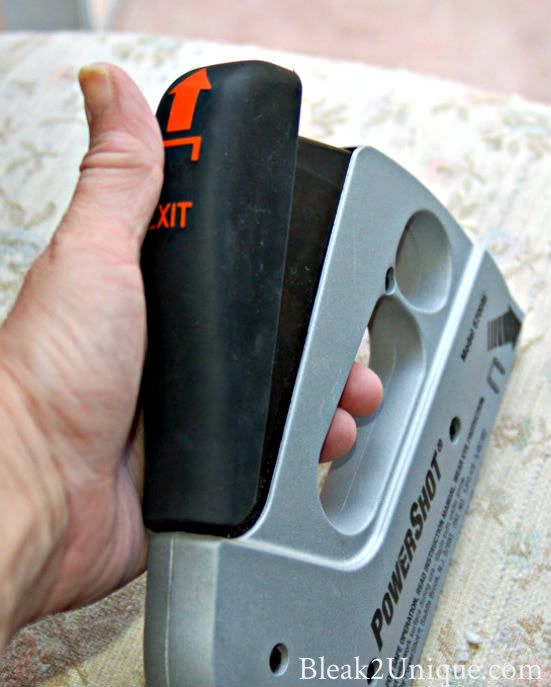 |
| Dummie Fact #2...This is the way to hold a staple gun |
 |
| Dummie Fact #3...This arrow is there for a reason...a good one! |
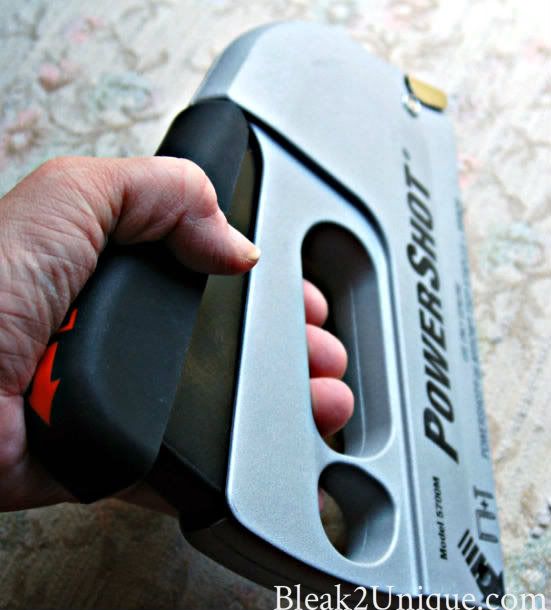 |
| Dummie Fact # 4...This is NOT the proper way to hold a staple gun |
 |
| Dummie Conclusion...Do not leave any body part under the gun! |
So, like I said, I was distracted...by pain, and did not take my pics of the actual covering and stapling. Don't worry, except for desperately needing a pedicure, I'm okay. Lesson over!
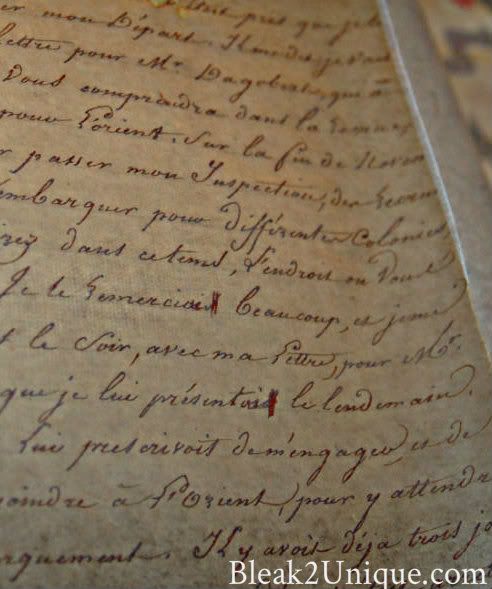
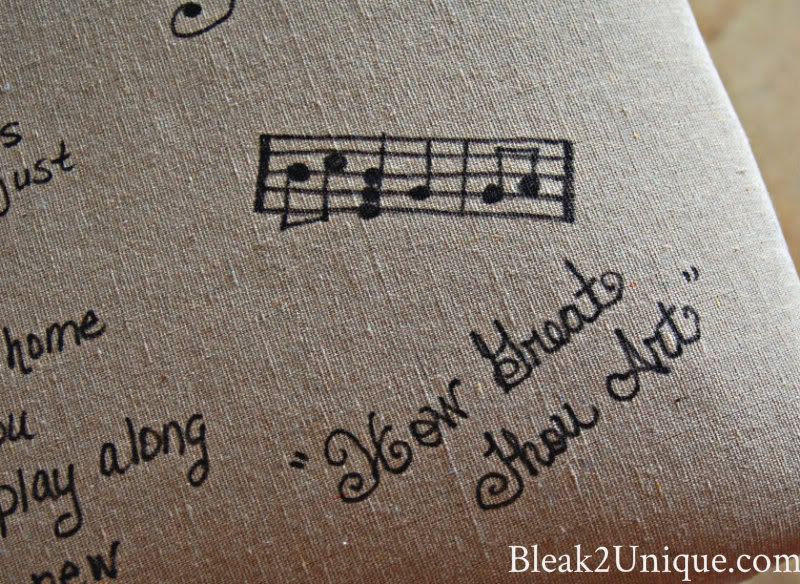
Still considering what to do with the cover, I decided to decoupage the inside of the bench with pages from an old hymnal...just for fun...
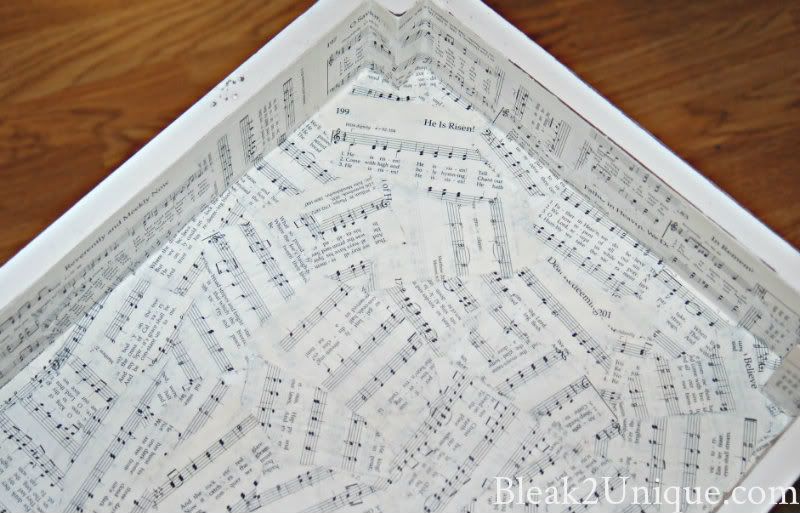 |
| I love decoupage |

I really like that there will be a nice surprise inside the bench. For this look I just tore the pages randomly, and used equal parts of glue and water to decoupage...Sticky, but fun!
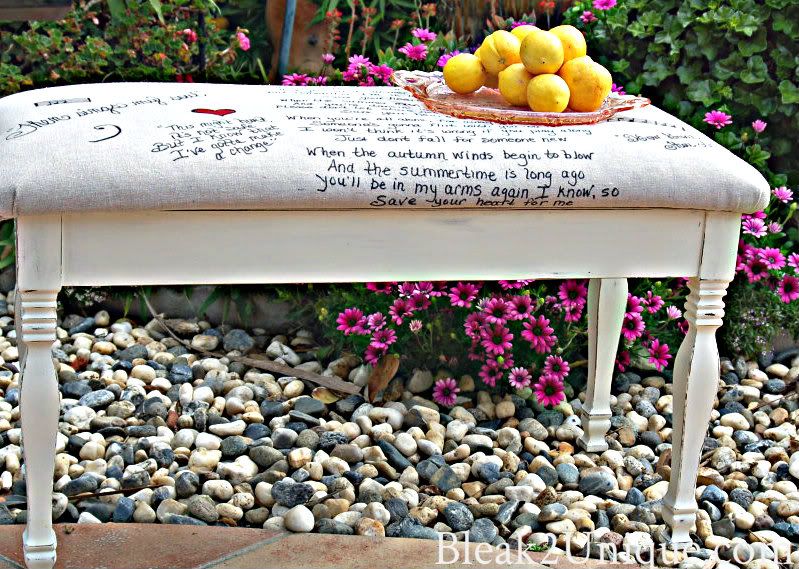
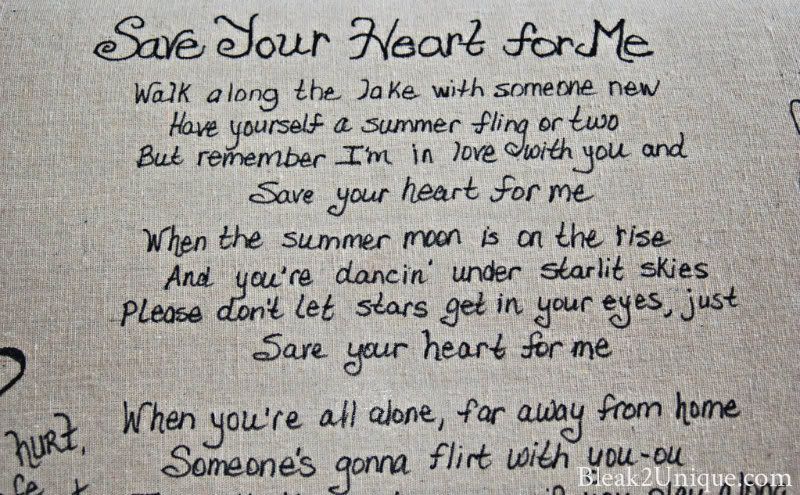
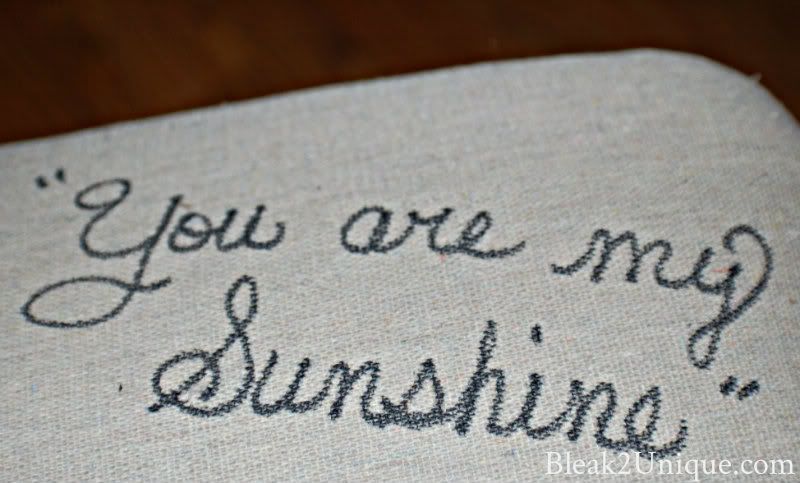
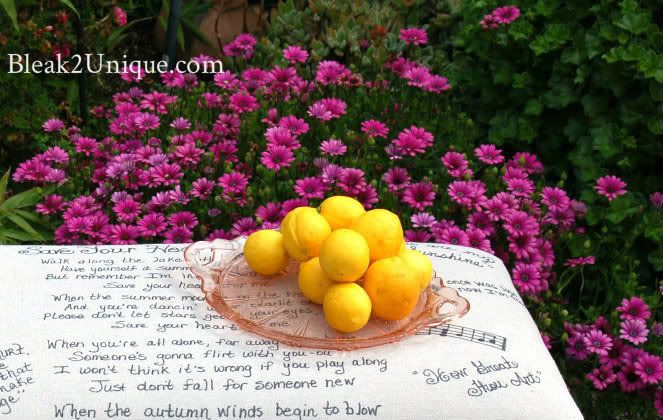
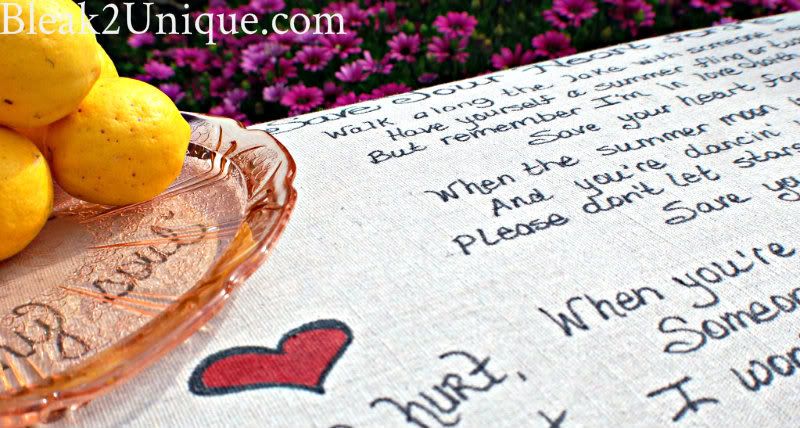
I put it off long enough and now it was time to decorate the bench top.
I wanted something "uniquely us", and so I chose songs we love, and one very special song! Cliff and Amelia love to sing together, and it warms my heart every time I hear them sing this particular song by Gary Lewis and the Playboys. I begged them to let me import a little video clip for y'all, but my husband was adamant...."NO WAY"!! So without further ado...here she is, my "Heart Bench"....
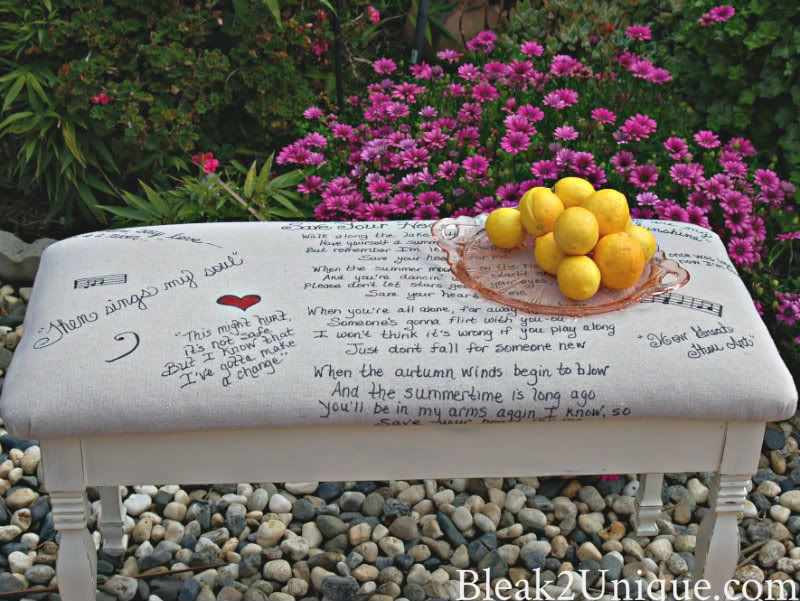


I was considering painting the bench red, like the heart...is this too much? Tell me what you think, and share any of your new products or fun parties.
Can you tell I have been playing with my new found camera? I am still learning, but so far I am lovin' the new toy.
Linking up to all these fabulous parties...come join me!


55 comments:
Very nicely done!
The bench and seat cover are amazing I love it as is your new home beautiful I do love the screened porch ! Cant wait to see all your decorating in your new home ! Have a great day !
LOVE! Love! Love this new bench. You did a fantastic job. I tend to always want to sell everything off before a move so I can recreate at the other end with flea market finds, etc. But your way works just as well :-) I am sooo looking forward to your lovely new home coming together with your creative and flare. You are an artist at heart.
That bench is so adorable, and ouch! Looks like you were bit by a vampire, lol.
But really nice job.
I am visiting via the blog hop and am now following your cute blog:>
Would love for you to come by and visit:>
http://www.blissfulanddomestic.com/
The bench turned out great but ouch on the foot! Thanks for finding my blog and following...I'm now following you too!
WOW! Amazing work!I would love for you to link up at my linky party via: http://ourdelightfulhome.blogspot.com/2012/03/show-me-what-you-got-linky-party-7.html
Thank you so much for stopping by www.ourdelightfulhome.blogspot.com
PS: I am your newest Linky Follower
Mrs. Delightful
www.ourdelightfulhome.blogspot.com
Lori! Thanks for stopping by my blog yesterday! So excited to have a new follower! I am thrilled by your blog...it's beautiful with such great content! I JUST did a dining room table with my own homemade chalk paint just last week that I am planning to blog about, so I was just tickled to see this post today! Your bench turned out fantastic! You will certainly have a new follower in me!!! xo ~Virginia @ livelovediy.com
OUCH!!! I totally would do this, why did they make the staple gun backwards??? Anyway, this is a fabulous bench, great job.
You did an awesome job with this! I love it :) Thanks for coming by. I'm joining you as well!
Have a great weekend and talk with you soon!
Erika @ Southern Belle as an Army Wife
I love what you did with your piano bench! And I love you blog. Thanks for stopping by and I am following you now. Patty
What a project and the end result was awesome. Love how it all came together. The bench and the inside looks fantastic! Thanks for stopping by and I'm your New Follower. Would love for you to share on Simple & Sweet Fridays.
Jody
Oh, my gosh! Do you know - I did THE SAME EXACT THING when I was stapling a bench of mine?! I didn't realize I was holding it the wrong way until I stapled the floor. Lol. Your poor foot! BUT, the bench looks amazing! You did a fabulous job. :-)
It turned out great! Sometimes the hard way is the only way we learn. I very well could have done the same thing. I suppose it could have been worse. And the challenge of a long distance redo...love it! Following you back!
This is adorable! Great job! :)
I loved reading this post...too funny, your poor little foot, ha! Great job....love what you did with the fabric. Perfectly personalized!
Oh my gosh! I absolutely LOVE IT! Great job Lori!!! :)
~Lisha
What a great looking bench! Thanks for stopping by Lori. I just added you to my Linky Follower list. BTW, I just wrote a welcome note that mentions grabbing a cup of coffee and sitting down with my blog. I thought it was funny when I came to your blog and saw that you also mentioned coffee. Have a good weekend.
Well done on your project! I hope you are ok with your little injury. :) I remember my dad's staple gun being the way you mentioned...and I have the same one you do.
Thanks for stopping by and following. I am now following you! I love your blog layout and the way you tile your party buttons.
This is so beautiful Lori! I enjoyed your play by play on how it got to this point as well...reminds me of someone I know (hahaha). Hope your foot is okay? Following you as well now! Yay! xo wendy
I love that bench, very whimsical! I would leave the color. it is right. thanks for coming to see me!
Beautiful. Happy to be a new follower! Thanks for coming by!
Great job Lori...except for the part where the vampire bit your foot! ;) Patsy
Love this! I've been wanting to try something similar with a coffee table for ages. You did such a beautiful job! The white looks great, although red would be fun too!
Hi Lori! My, you are a very talented girl! I have perused many of your posts and had a great time seeing your creativity! Fun stopping by to visit with you! :)
Kindly, Lorraine
Super cute! What a fun bench!!!
Ouch! That looks painful! I have an old staple gun, and would have totally pulled the same mistake! The bench turned out beautifully. I love the way the chalk paint looks!
This is so beautiful! Very cool.
thanks for your lovely comment, i am following you back on linky and gfc
love
jutta
The bench is amazing! Love the finish and fabric!
Oh Lori, I couldn't help but laugh... I'm so sorry about your poor foot! Sorry for laughing too!
But, your bench turned out lovely as usual!
Fabulous! Hope your foot is OK. owwies!
love how this came out, part. the surprise inside sheet music decoupage.
LOVE. Amazing job!
Lori, your bench is amazing!!! I'm featuring it tonight at Project Queen's Highlight Party. Thank you so much for linking it up last week. I'm so glad your foot is okay!
Sand or Paint? I usually say, "Clean the wall or paint over it..."
So homemade chalk paint is a solution I will be stealing from you!
Thanks for stopping by!
Your bench is just adorable. Your stapler mishap sounds just like something I would do :).
New follower,
Eilis
my-heart-lives-here.blogspot.om
Your bench is just adorable. Your stapler mishap sounds just like something I would do :).
New follower,
Eilis
my-heart-lives-here.blogspot.om
it's lovely and made with "blood" sweat and hopefully no tears. Sorry for you accident. Thank you for sharing xo
what a fantastic idea- well done!
It looks great. I hope your foot is recovering.
Hey it's Cheri from Its So Very Cheri--stopping by from the Linky Party Hop.
Cheri
I love it! Thanks so much for linking up! :)
~Nat
That is awesome! You have great hand writing. Much more personal I think!
www.createyourdecor.blogspot.com
So cute! And yes, I have an old staple gun too. I feel your pain. Literally.
It looks beautiful! Love your photos too. Thanks for linking up to Share the Love Wednesday!
Mary
It came out beautifully! And I'm so glad you gave some info on homemade chalk paint!
What a fun bench! I love the white distressed legs!
Your blog is definitely aptly named. This bench did go from bleak to unique. The transformation is incredible. I love everything about it..well, except for your staple gun injury :).
Happily following you back.
amy @ whilewearingheels.blogspot.com
Love...love...love the bench and the fabric cover.
Great bench! I am in the very little patience category, too.
~Amy @ Permanent Kisses
Very fun project! I like the sheet music on the inside -a nice surprise. Great photo shoot too. :)
I truly love everything about your "heart" bench Lori! The handwriting is beautiful, and I love the hymnal decoupage inside.
thanks for sharing at catch as catch can!
gail
This is so beautiful and such a great project! I hope you will come link it up at the Pinworthy Project Link Party going on now over on my blog, Just Us Four.
The bench looks beautiful I love it. Sorry to hear about your foot. That must have really hurt. I'm sure it happens a lot though because it seems like a honest mistake. You completed your project wonderfully though. I love the decoupage on the inside.
Love your new bench! My favorite part is the inside - what a fun idea! So sorry about your foot (I think I would have made the same mistake)! Thanks for linking up.
I love what you did with this! I have seen so many French inspired pieces but this is fabulous and unique! I found you at Cheri's blog hop, and am your newest follower, will you follow me back?
Post a Comment