


Gather 'round, grab a chair and join me in making a wonderful Christmas memory...A Christmas ornament that can be made to fit any style or decor, using almost any family treasure. Our family has been making our heirloom ornaments for over 50 years, and now I would like to share a tutorial so you can make your own family heirloom for Christmas!
( Mouse over image below)
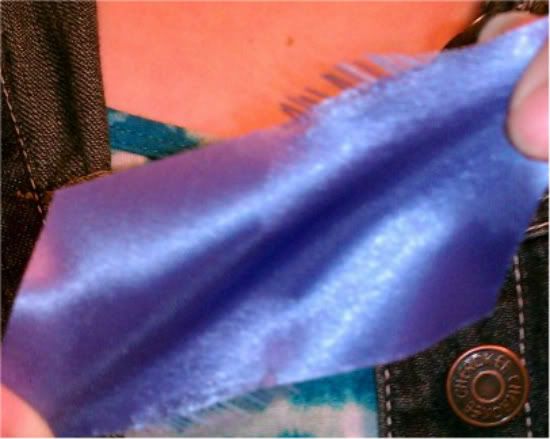
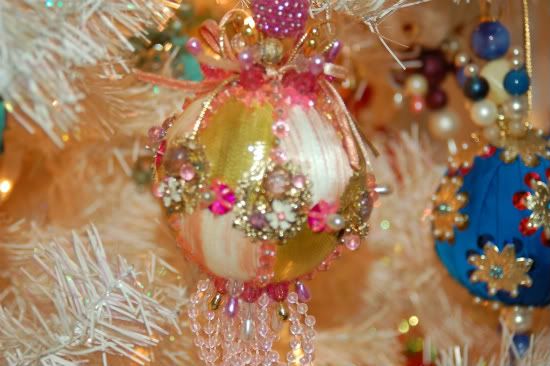 |
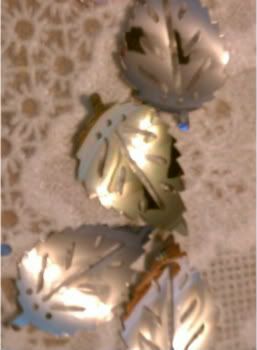
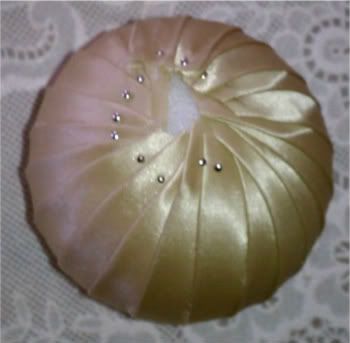
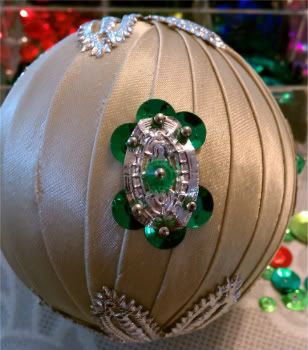
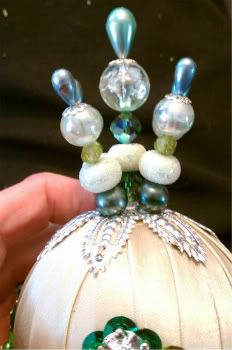
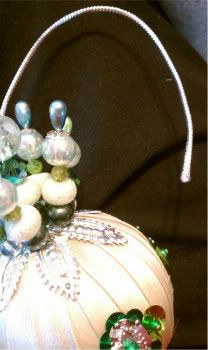
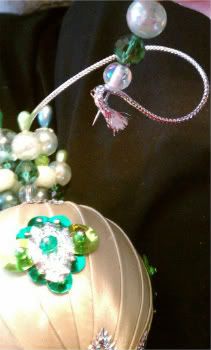
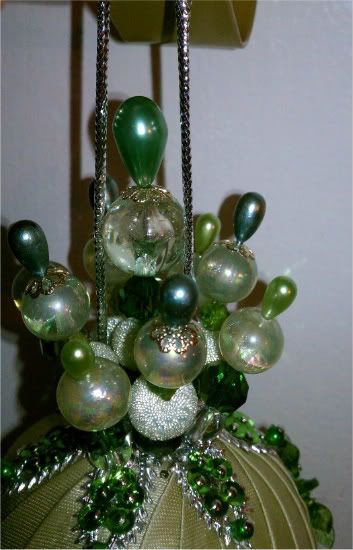
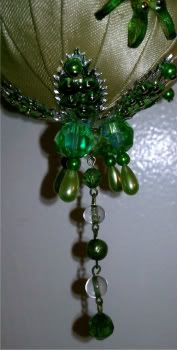
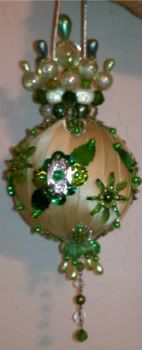
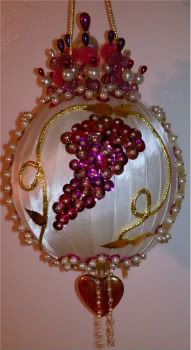
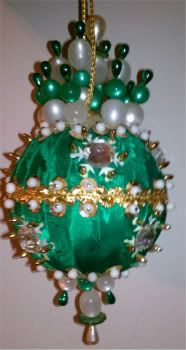
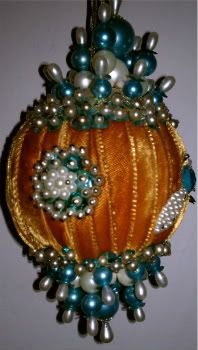
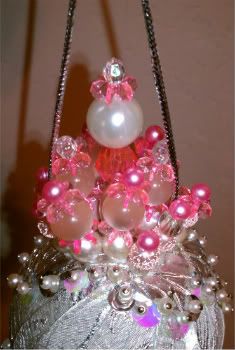
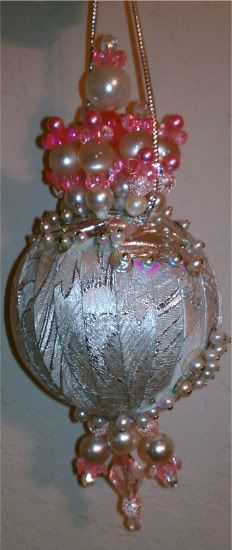
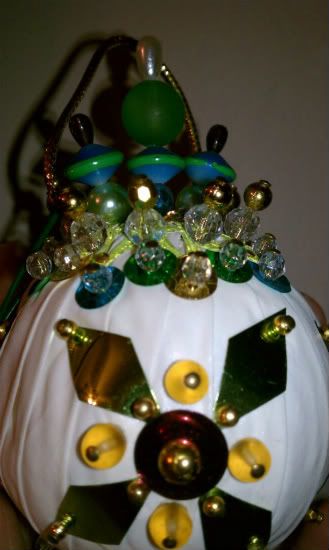
| A Sample of what you can do! |
|
|
|
|
|
|
|
|
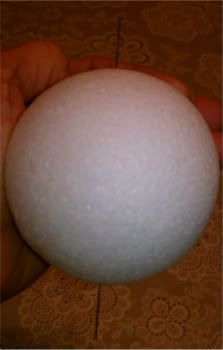
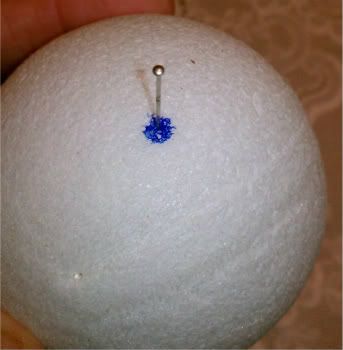
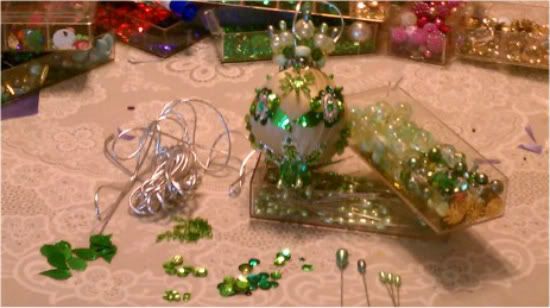
- Styrofoam ball (2 1/2 inches)
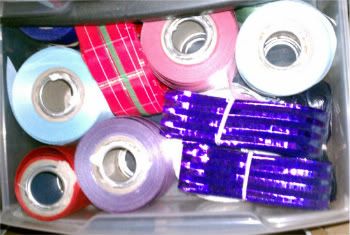
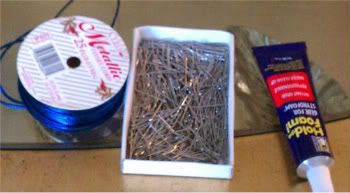
- Wide ribbon (2 1/2 - 3 inches wide)
- Straight pins
- Foam glue
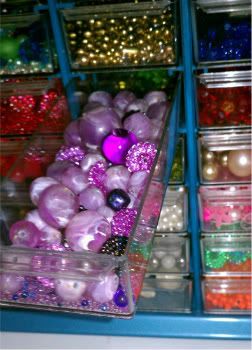
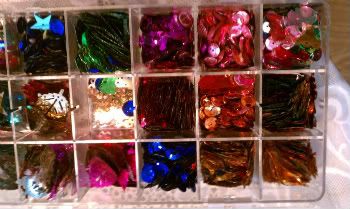
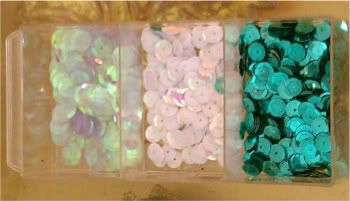
- Sequins (all sizes)
- Corsage and hat pins
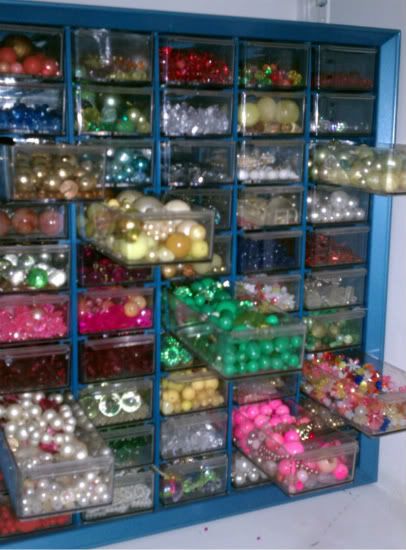
- Beads (get 'em anywhere)
- Cord / Twine
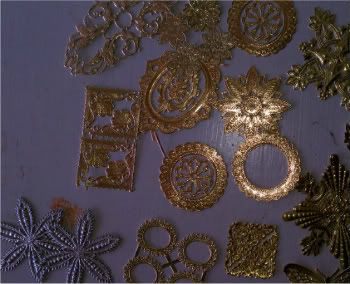
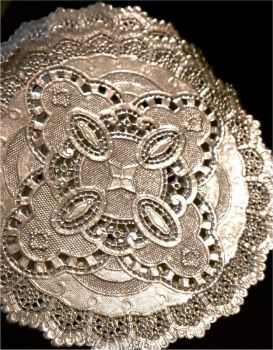
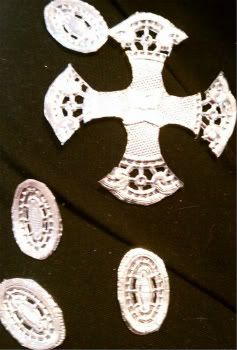
- Gold or Silver foil doilies (optional)
- Whatever you want to include
At our house we pick 1 day each Christmas season,
and devote it to our ornaments....
Why?
Well, besides tradition....it takes the better part of a day....But what fun we have! We each end the day with a beautiful heirloom ornament. So, what if it may take a little while, the results and the memories are well worth it! Can't start it today?....Pin it on Pinterest, pick a day and make it a tradition! With that said....Let's get the tutorial started...
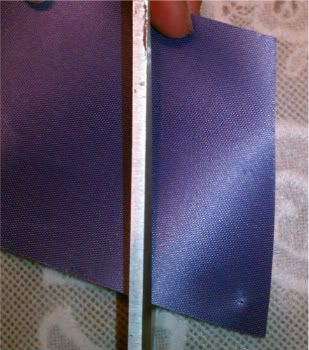
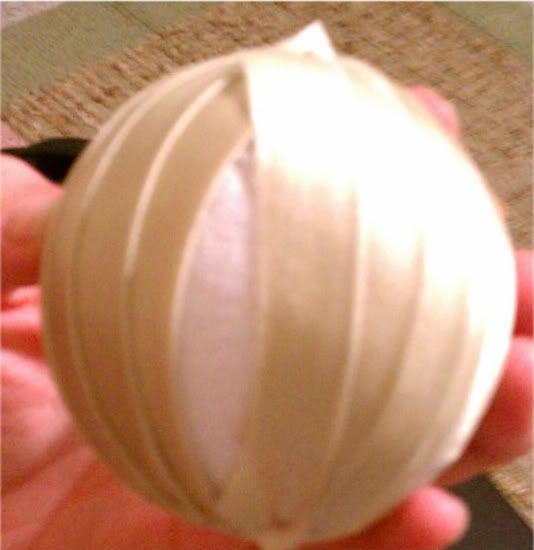
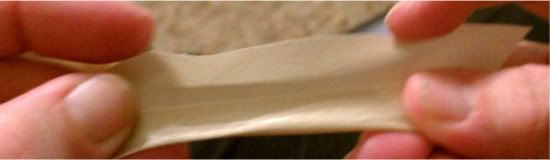
Get your favorite color of wide ribbon, and cut 23 to 25 angled strips
(about 30 degree angle), approximately 1 1/2 inches wide...
Cut! Cut! Cut!.....Like this:
|
|
|
|
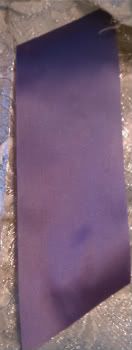
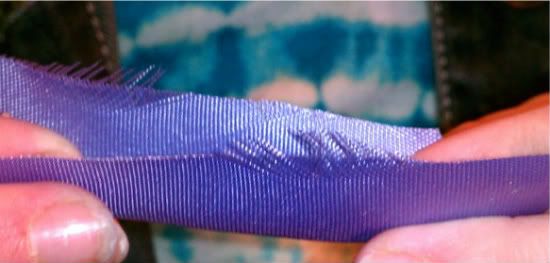
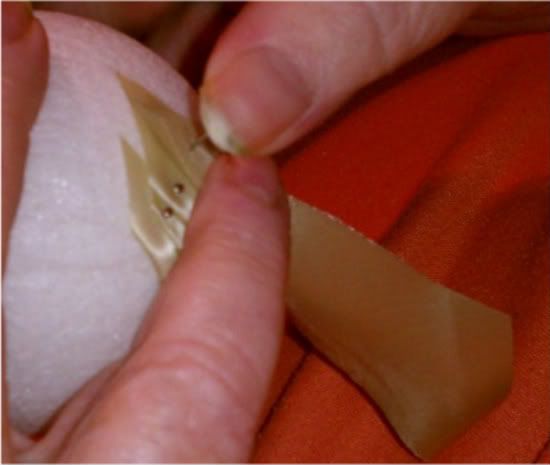
Now it is time to attach the ribbon. Hold the ribbon at the tips and pull...it will sound like it is ripping, but this is how you make the ribbon soft and pliable. Fold lengthwise in half and pin one end close to the top center. The ribbon needs to be pulled taut and then pinned close to the center bottom....Like this...
|
|
|
|

 |
| Clip end pieces as needed...just a little |
|
|
|
|


|
|
|
|
|
|

|
|

|
|
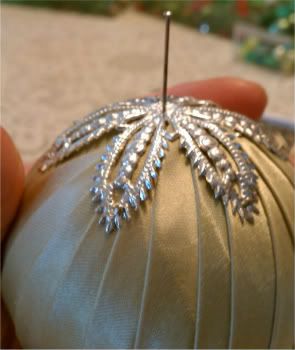
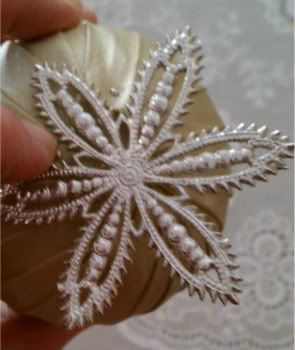
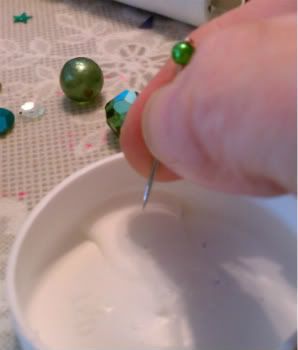
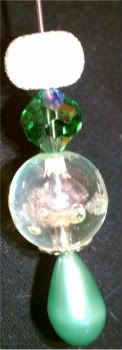
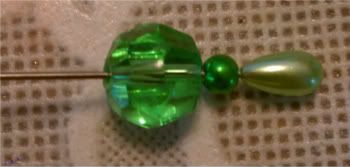
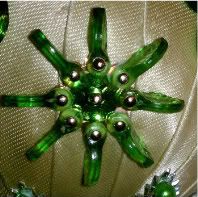
My mom likes glitz and glam so that is what prevails around here!
This is where your unique creativity takes over....so what brings you joy? If you have little ones, you can bring it to this point, and then let them take over....Kids love this part....we use glue! Are you ready for the next step?.....Let's go...
|
|

|
|

|
|
|
|

|
|
|
|
|
|

|
|
|
|

|
|
|
|
|
|

May God bless you and your family as He has always blessed ours!
Merry Christmas!


9 comments:
Wow, these are amazing! They are so very beautiful! They look very labor intensive. Nice job. I am visiting from It's So Very Cheri!
Nice - I love the idea of making your own ornaments. They have so much more meaning that the ones you buy in the store.
Thanks for sharing this at the Take it on Tuesday blog hop!!
So very Merry and Bright! I have a number of ornaments like this that my mother and grandmothers made. I love them so very much.
Thanks for posting.
Buffie
http://papercuts4u.blogspot.com
Yowza these are amazing. I love how you make it an all day event. I have to admit, I'm a little jealous. Wish I could get everybody here to have a day like that. Your ornaments are stunning and I'm so happy you shared your post on Motivated Monday at beColorful.
Pam
Gorgeous gorgeous gorgeous! Definitely a classic in the making! I am in admiration of your creativity! The tree is decorated gorgeously!
Love handmade ornaments. These are gorgeous and would make nice gifts! Thanks for stopping by today!
You are my kind of Christmas crafting genius. :)
So glad I found your project via Centsational Girl.
I would love for you to visit DTA as I am in the midst of a "Gifts You Can Make" series.
Be merry and bright!
Oooh - your ornament is so pretty! It reminds me of a fancy one my mom used to hang on our family Christmas tree. Brings back happy memories.
So crafty and beautiful! They have a vintage feel to them.
Post a Comment