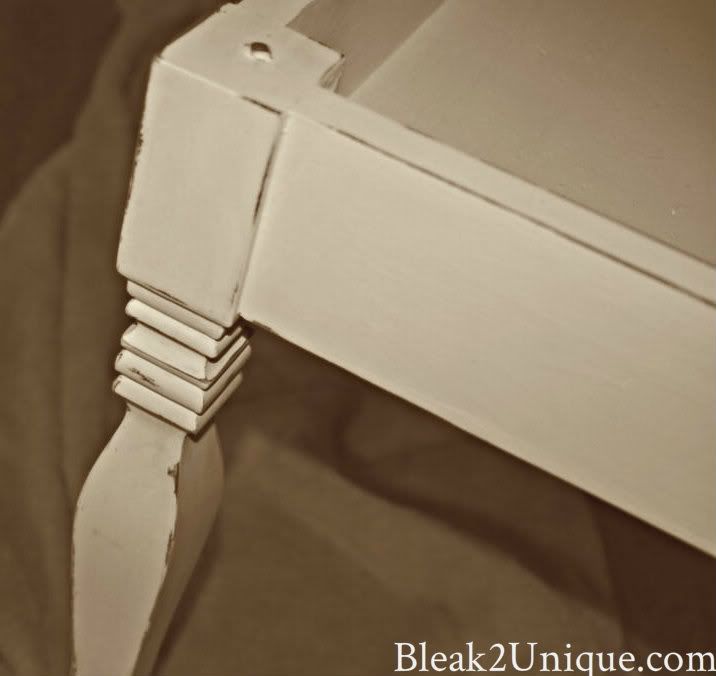
Shop Now!

Dresses from Shabby Apple

Blog Roll

Living SavvyPhotobucketPhotobucket beneath my heartMy Repurposed LifeWelcome to daily d !The Shabby Nest Decorchick! RedouxBecolorful crissy berry button180x150button

My Button!

Thursday, March 29, 2012

Heart Bench

As y'all know, or maybe not, I am in the process of decorating a home that is 3000 miles away...not an easy task. We are waiting until the end of the school year to move  back to Alabama, and our new home is just sitting there. Wanna see it...head on over HERE. It is a little hard to imagine a room without being there, but I kinda like a challenge. I'm imagining a small bench at the end of my bed, or under a window, or ...okay, I just like benches!  I acquired  this one with a free piano. The piano is gone, but I couldn't part with the  bench...
Old piano bench
My plan...a new chalk paint recipe, a drop cloth cover, and a french script transfer with a little Sharpie accent. This was the plan, but plans can change, right? Here are my initial supplies...
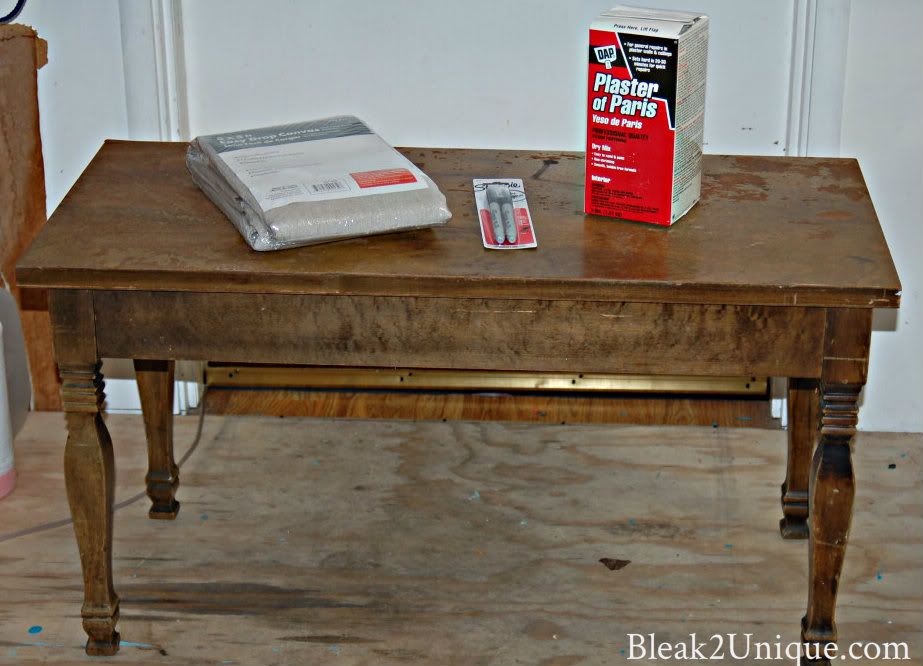
Bench, drop cloth, plaster of paris for paint, and Sharpies
Graphics Fairy printable
Flat paint...off white
Staple gun

My supplies included some awesome 
free printables from the
 Graphics Fairy and a chalk 
paint recipe.
First I made up the chalk paint....1/3 Cup Plaster of Paris and 1 Cup Flat paint..so easy, and cheap!...
1/3 cup plaster of paris
The first batch was lumpy and not working, so I grumbled and started over (foreshadowing). I added a little water to the plaster of paris and mixed until it was smooth...then I added the paint. This did the trick...
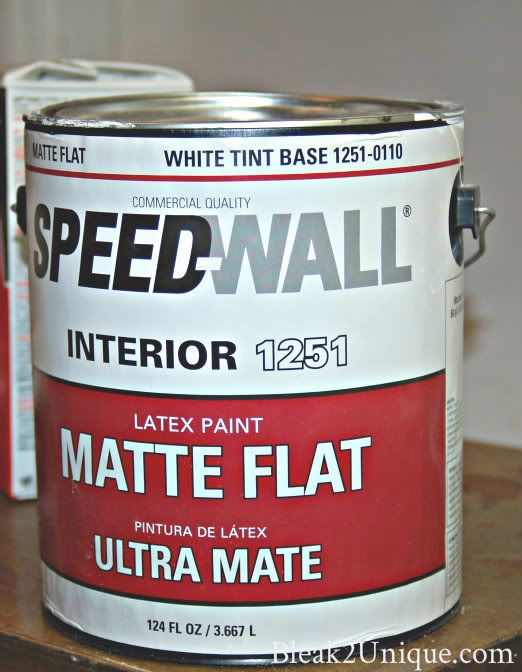
1 cup flat latex mixed in....buttery smooth
The bench looked terrible, and I hate to sand anything, so chalk paint seemed like a good alternative to hours of sanding...don't ya think?
Sanding or chalk paint?....definitely paint!
I took off her top and added some chalk paint...
One coat 
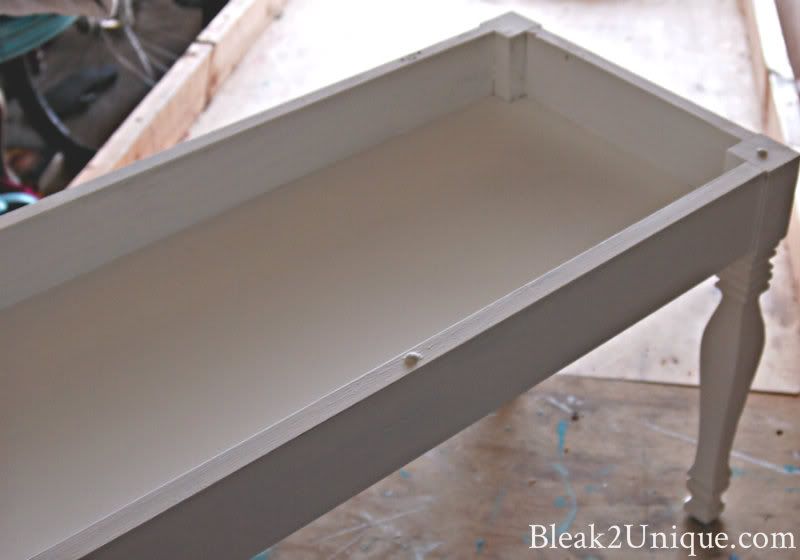
2 coats on...lookin' good
Unfortunately, at this point I did have to do a little sanding, but chalk paint is pretty easy to sand...and you can use a damp cloth to lightly distress it...Gotta love this stuff!
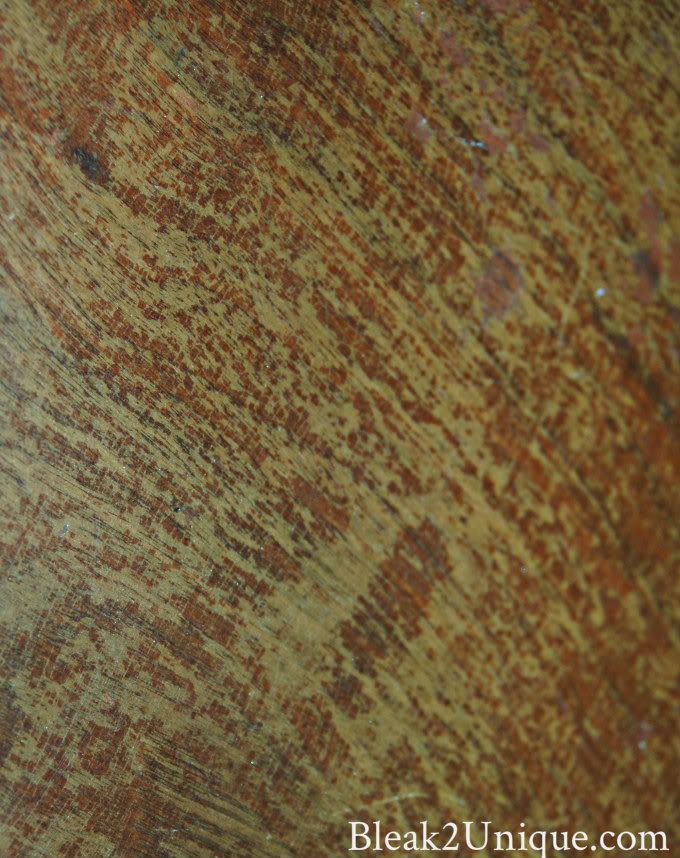
Sanded and lightly distressed
After the painting was done, it was time to get busy covering the top of the bench with my handy dandy drop cloth...I love that I could get my "fabric" at Home Depot...what's next, milk and eggs? 
 Back to work...I decided to use a cushion from an old broken lawn chair for the seat.....free is best!
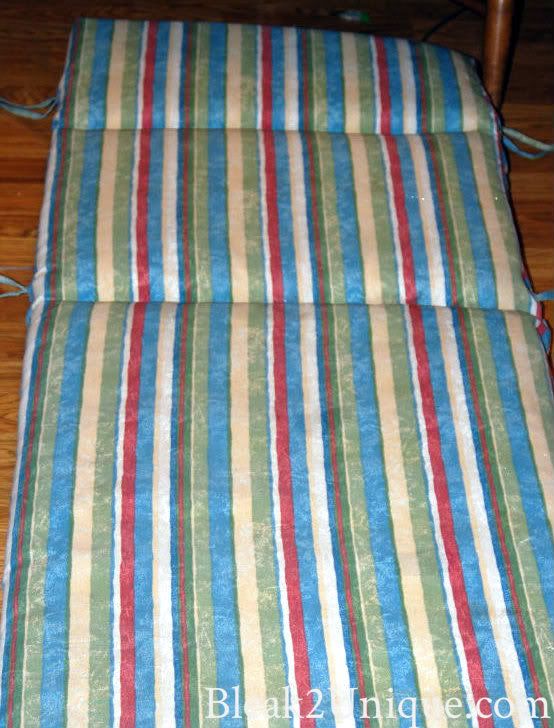
Great free cushion
Did I mention that the broken chair was a favorite of our puppy, Bella? She loved to hop up on that old broken chair anytime she went out...Now, she is totally confused...
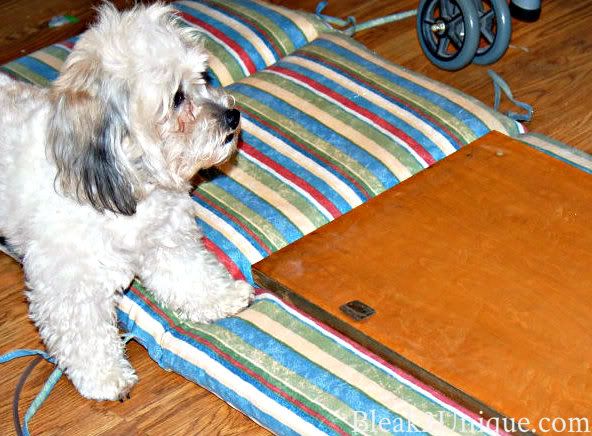
"Mom, This is mine...pleeease!"
Look at those sad eyes
Despite the puppy "sad" eyes, I cut off the fabric and made use of the fluff...
"New" stuffing...now I need some new scissors
I cut the drop cloth to fit the lid,  leaving an extra 8 inch edge...just for good measure.  Then I did the same for the cushion. At this point I wanted to make use of the great free printables, but it was not to be. I  had my printables and this...
I need DIY for dummies!
To my dismay, wax paper and freezer paper are NOT the same thing...really? 
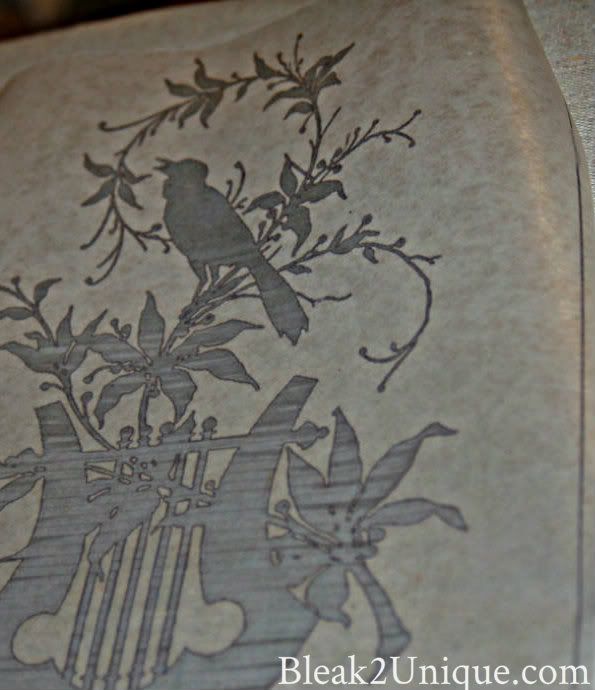
I printed out all my designs on the wax paper, got the iron hot, and NOTHING! 
Wax paper does not transfer a thing. Most people would probably have waited and bought freezer paper, but I have zero patience, and I wanted it done, so I needed a new plan...Cover the bench and make Sharpie magic later.
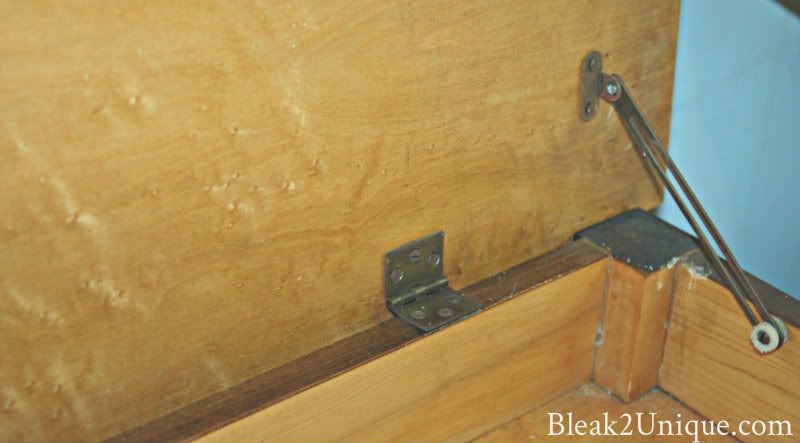
Now I was ready to cover the lid...or so I thought. The actual covering and stapling photos are few cause' I got totally distracted....Here' what I have...
Staple the center of all four sides first...then corners
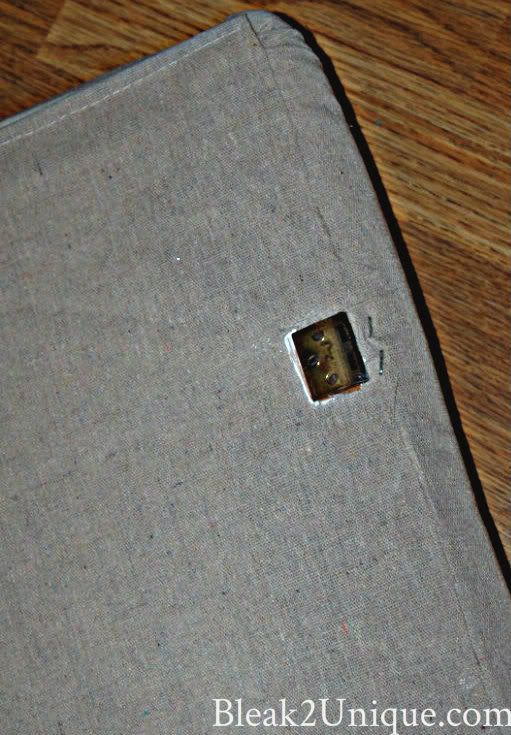
To cover the entire bottom I cut more drop cloth, and used
some spray adhesive


Why so few pics, and what distracted me? Well here is where we have a DIY for dummies moment!  Does anyone own a staple gun? Have you owned an older staple gun? Well there is a difference...and I know what it is, do you?...
DIY for DUMMIES LESSON...
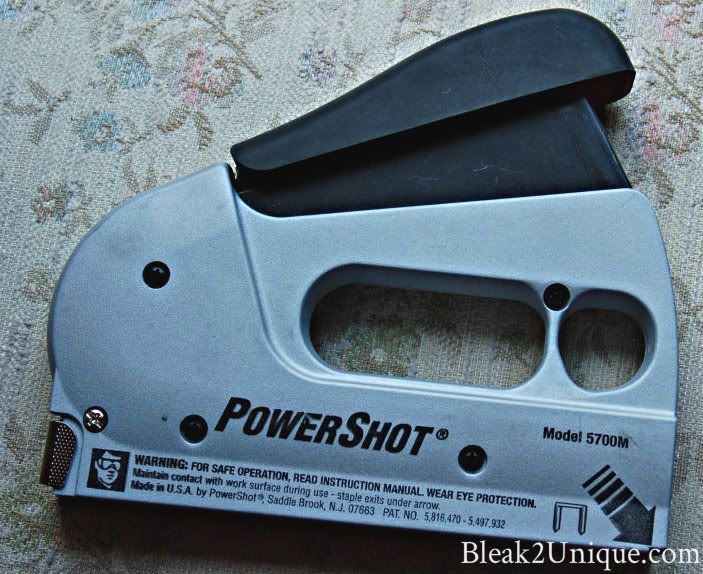
Dummie Fact #1...This is a staple gun
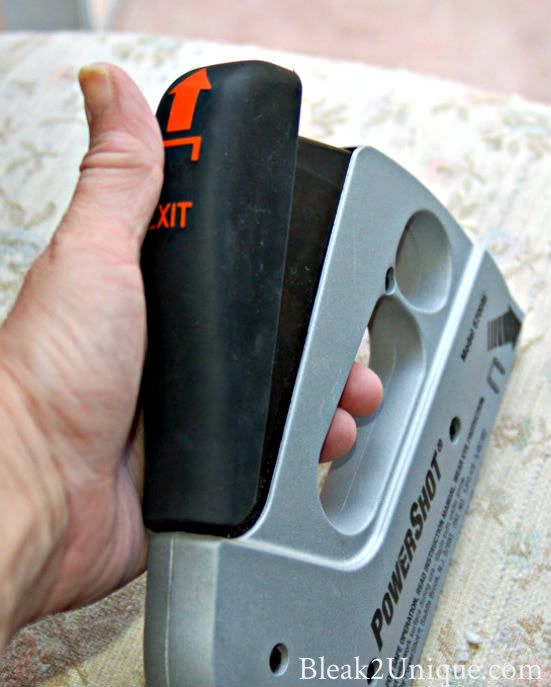
Dummie Fact #2...This is the way to hold a staple gun
Dummie Fact #3...This arrow is there
for a reason...a good one!
So why did I mention "old" staple guns? Well, the older models were operated by putting pressure on the back of the gun...like so...
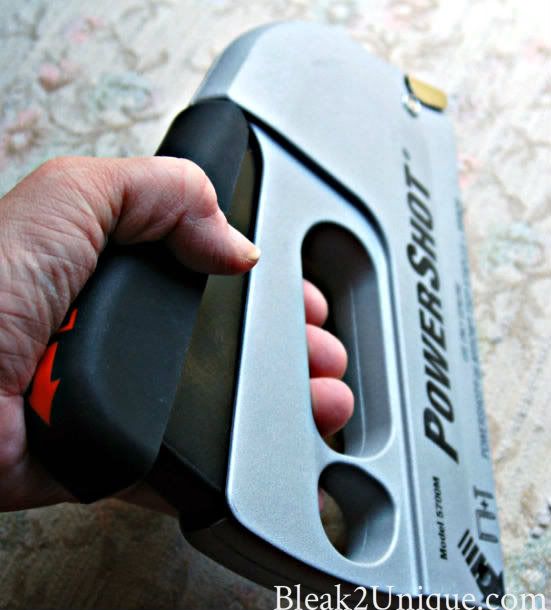
Dummie Fact # 4...This is NOT the proper way
to hold a staple gun
I would like to point out that the "PowerShot" logo is facing in the right direction, even though the gun is not...a person could get confused! And to conclude the DIY for Dummies lesson...
Dummie Conclusion...Do not leave any body part under the gun!
No, that is not a deadly spider bite...although that would be less embarrassing! I actually held the gun backward while sitting on the floor with my foot under the other end...the lethal end! 
So, like I said, I was distracted...by pain, and did not take my pics of the actual covering and stapling. Don't worry, except for desperately needing a pedicure, I'm okay. Lesson over!
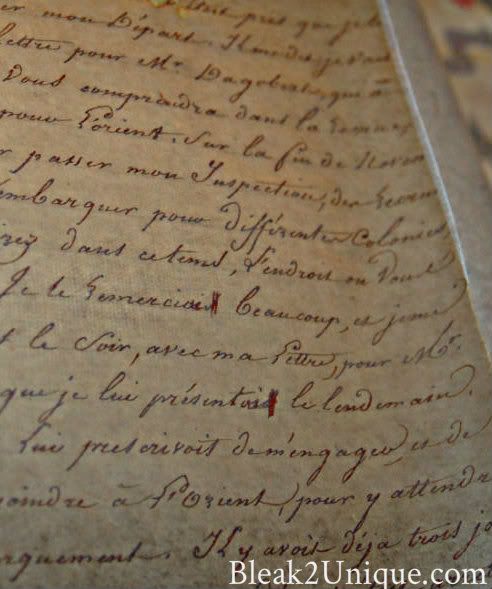
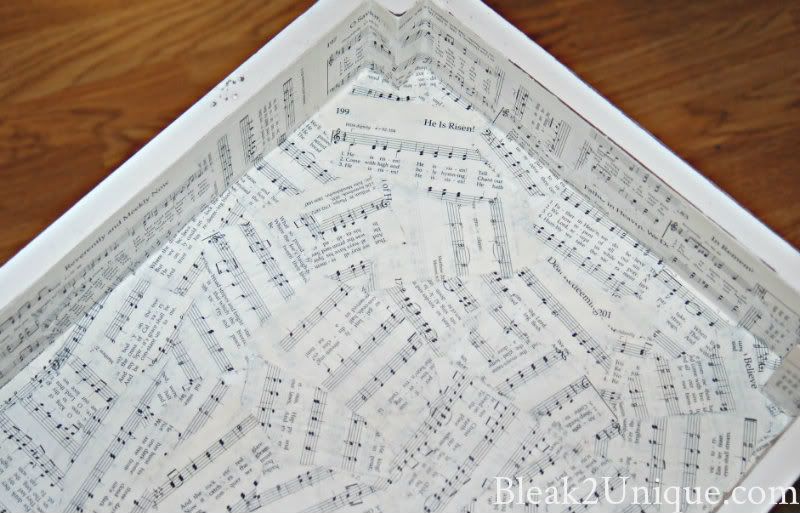
Still considering what to do with the cover, I decided to decoupage the inside of the bench with pages from an old hymnal...just for fun...
I love decoupage


I really like that there will be a nice surprise inside the bench. For this look I just tore the pages randomly, and used equal parts of glue and water to decoupage...Sticky, but fun!
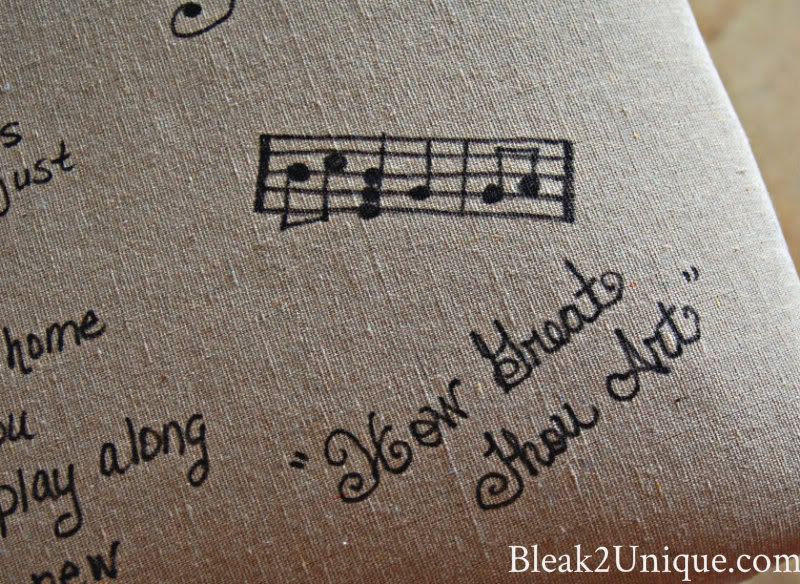
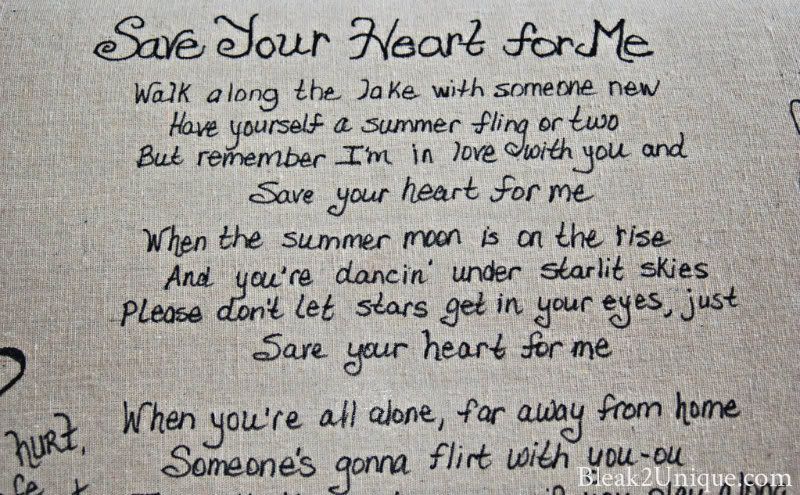
I put it off long enough and now it was time to decorate the bench top. 
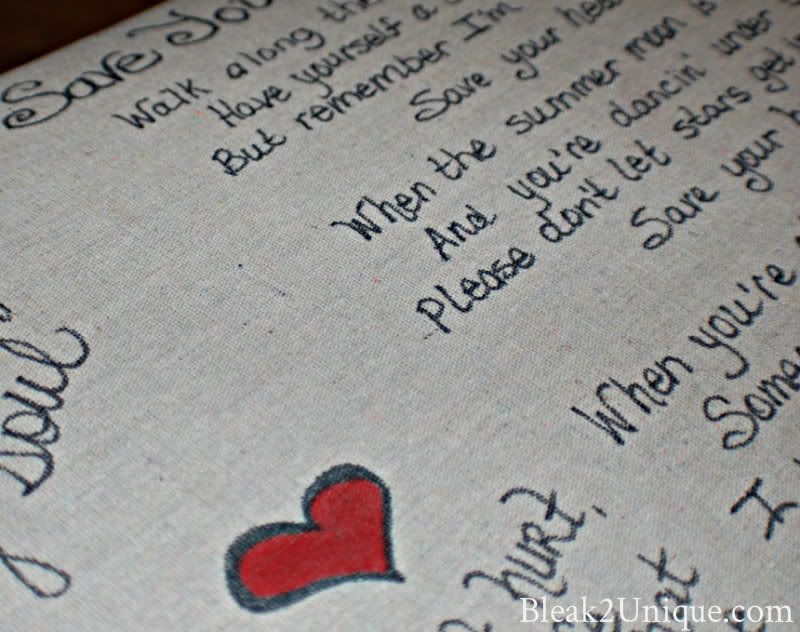
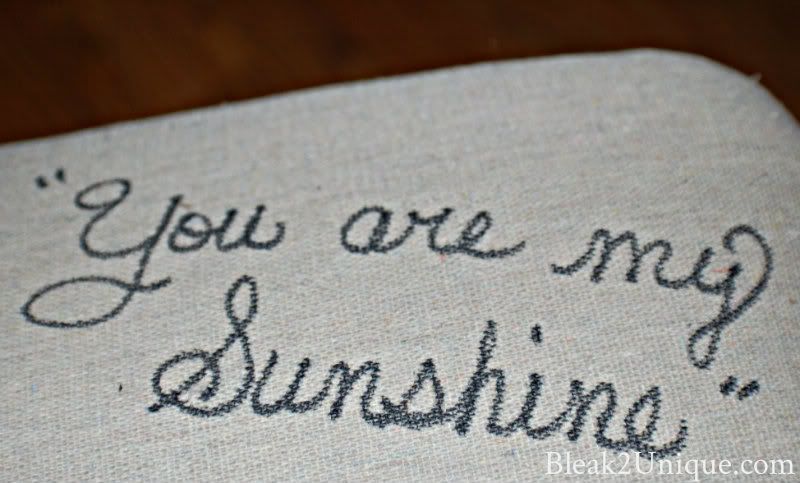
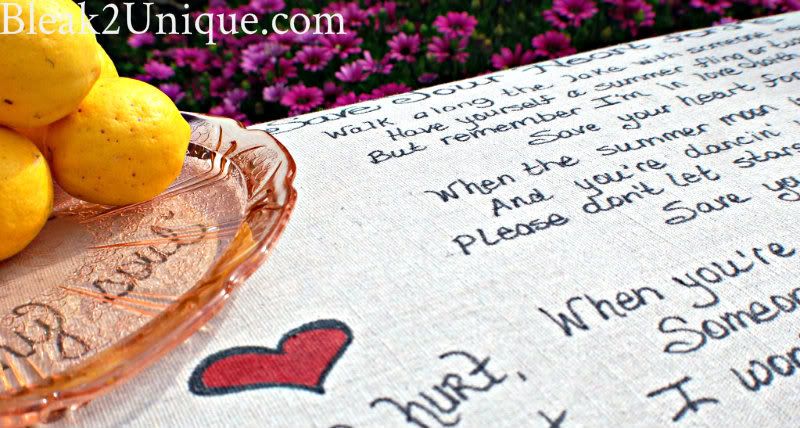
I wanted something "uniquely us", and so I chose songs we love, and one very special song! Cliff and Amelia love to sing together, and it warms my heart every time I hear them sing this particular song by Gary Lewis and the Playboys. I begged them to let me import a little video clip for y'all, but my husband was adamant...."NO WAY"!!  So without further ado...here she is, my "Heart Bench"....


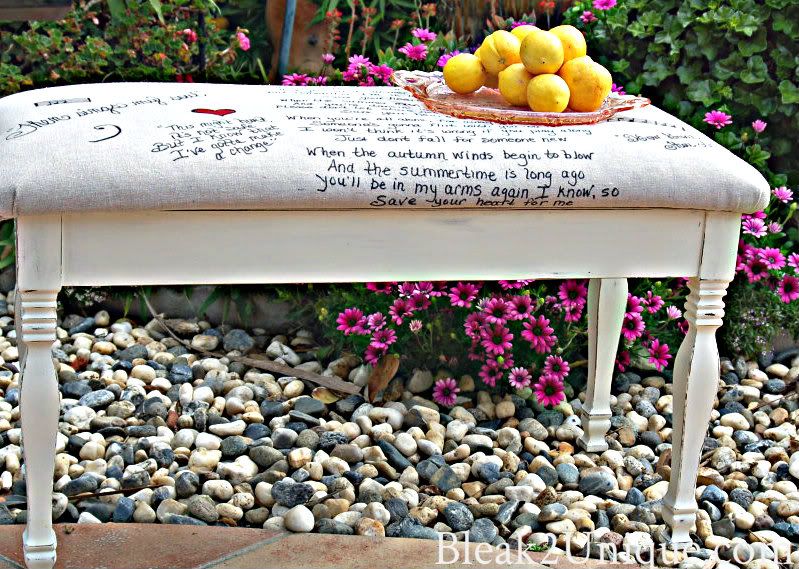
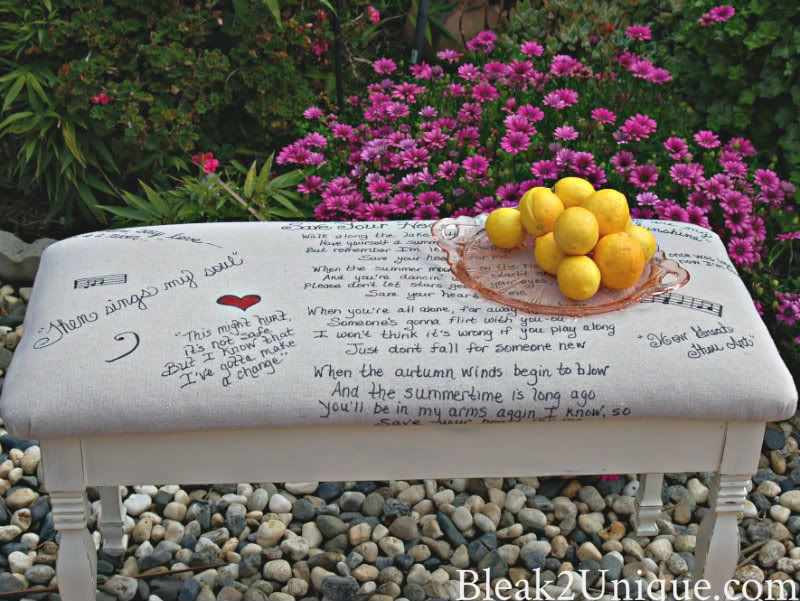
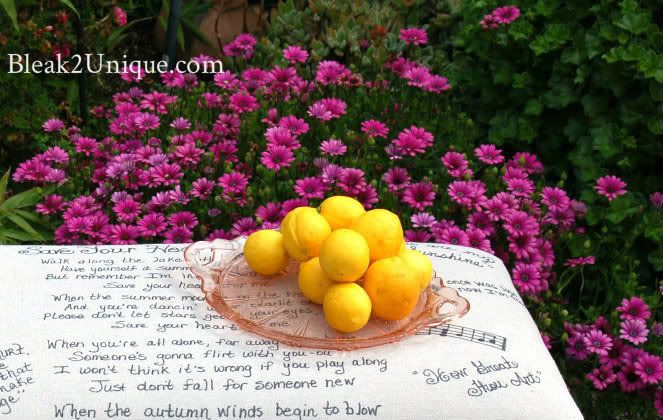
I was considering painting the bench red, like the heart...is this too much? Tell me what you think, and share any of your new products or fun parties.
Can you tell I have been playing with my new found camera? I am still learning, but so far I am lovin' the new toy. 


Linking up to all these fabulous parties...come join me!


Three Mango SeedsCreations by KaraBoogieboard CottageDays of Chalk and Chocolatefingerprints on the fridge Craft & Tell shabby creek cottageIhookedupwithHoHlamespiceFine Craft GuildThe 36th AVENUEVisit thecsiproject.comThursday Favorite ThingsPhotobucketFurniture Feature FridaysThe Shabby NestTickled Pink at 504 Mainfreckled laundry Beyond The Picket Fence Weekend Bloggy ReadingRooted In Thymebuttonbeneath my heartTDC Before and AfterUndertheTableandDreamingPhotobucketThe Southern InstituteDelectableHome Keeping It SimpleDIY Show OffFunky Junk's Sat Nite Special